Preparing Your Device for Connectivity
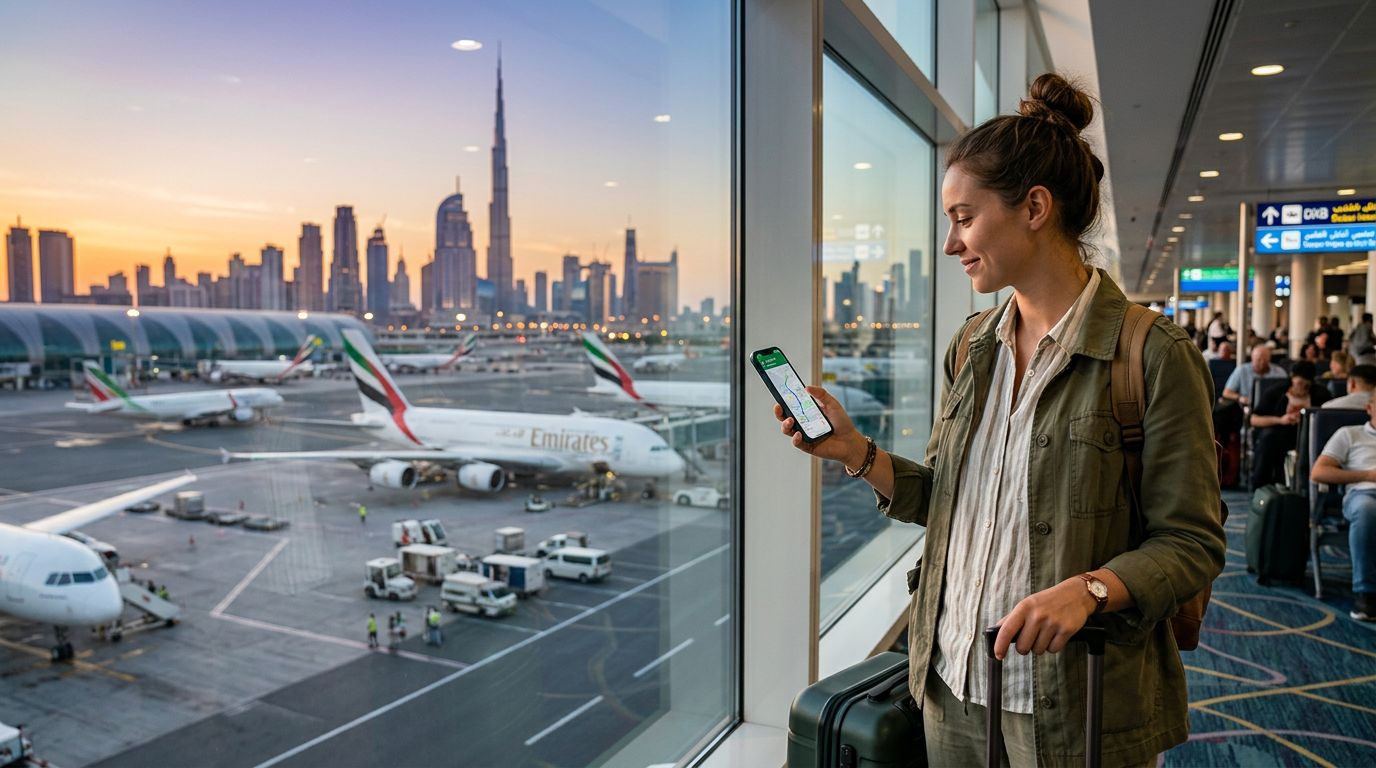
Before you arrive in the Bahamas, ensuring your smartphone is ready to handle an eSIM is the most important step. An eSIM, or embedded SIM, is a digital version of the physical card you are likely accustomed to. Because it is built directly into the hardware of your phone, you do not need to visit a local kiosk or swap out tiny plastic chips upon landing at the airport.
To confirm your device is compatible, check your phone settings. For iPhone users, you can verify this by navigating to your cellular settings menu. If you see an option to "Add eSIM" or "Add Cellular Plan," your device is ready. Android users should check their network or connection settings for a SIM manager menu. If these options are present, you are set to proceed.
It is also vital to ensure your phone is carrier-unlocked. Many smartphones purchased through a mobile service provider are locked to that specific network. If your device is locked, it will reject an eSIM from a different provider. If you are unsure about your device status, contact your home carrier before your trip to request an unlock. This simple check prevents frustration once you are already on the islands.
Finally, ensure your phone is updated to the latest operating system. Manufacturers frequently release updates that improve eSIM functionality and network compatibility. Having the most recent software installed ensures that the activation process runs smoothly without unexpected errors or compatibility glitches.
How to Activate Your eSIM in the Bahamas
Once you have confirmed your device is ready, the process of activating your eSIM is straightforward. The goal is to have your connection ready the moment your plane touches down in Nassau or any of the Out Islands.
First, purchase your eSIM plan through a provider like OneTapSIM before you leave home. You will receive a QR code or a set of manual activation details via email. It is best to save this information as a screenshot or print it out if you have access to another device, as you will need to scan the code or enter the details while setting up your phone.
To activate, navigate to your cellular settings. Select the option to add a new plan and choose the method to scan a QR code. Position your camera over the code provided by your eSIM service. Your phone will automatically detect the network settings. You may be prompted to label your new plan; choosing a name like "Bahamas Travel" helps you distinguish it from your primary home line.
After scanning, your phone will attempt to register with the local network. This might take a few moments. Ensure that "Data Roaming" is toggled on for your new eSIM line, as this is necessary for the service to function while you are abroad. You do not need to worry about roaming charges from your home carrier if you have correctly configured your phone to use the eSIM for cellular data. By setting the eSIM as your primary source for data, you ensure that you stay connected without relying on expensive international roaming packages from your home provider.
Managing Your Connection and Troubleshooting
While activating your eSIM is usually a seamless experience, knowing how to manage your settings ensures you stay connected throughout your trip. Once you arrive in the Bahamas, your phone should automatically connect to a local partner network. If you find that you are not receiving a signal, restart your device. This simple action often forces the phone to re-scan for available towers and establish a fresh connection.
If you are still experiencing issues, check your APN (Access Point Name) settings. While most modern devices configure these automatically, some may require a manual entry. You can find the correct APN settings provided in your activation instructions. Simply go to your cellular data network settings and input the information exactly as specified.
Another common point of confusion involves the "Primary" versus "Secondary" SIM settings. Your phone allows you to keep your home SIM active for calls and texts while using your eSIM for data. This is a popular configuration for travelers who want to remain reachable on their home number while enjoying affordable data for maps, messaging apps, and web browsing. Verify that your settings are configured to use the eSIM for "Cellular Data" and that "Allow Cellular Data Switching" is turned off. This prevents your phone from accidentally reverting to your home carrier's data, which could lead to unexpected charges.
If you are traveling between different islands, such as moving from New Providence to the Exumas, your connection should remain stable as long as there is local coverage. If you lose signal, toggle "Airplane Mode" on for ten seconds and then off again. This refreshes your connection to the nearest tower.
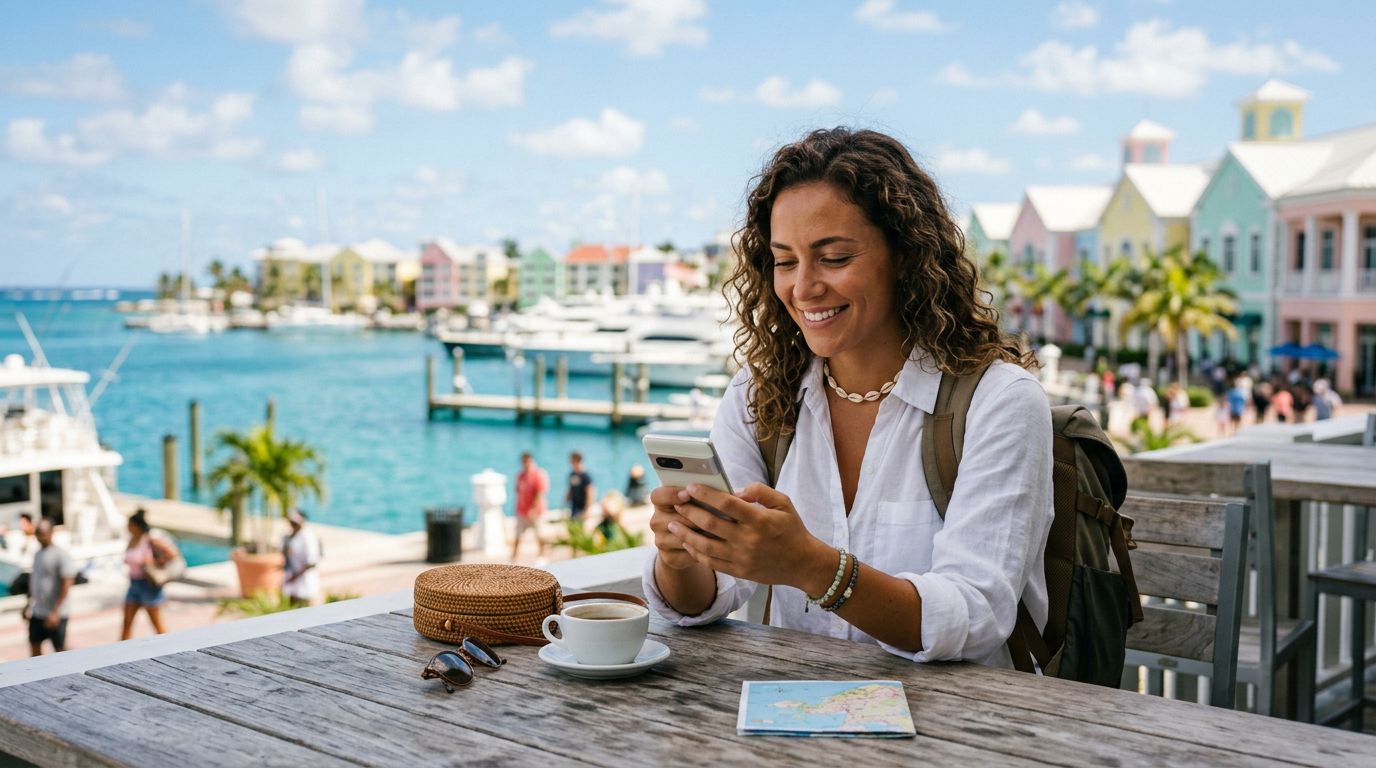
By following these steps, you can enjoy reliable internet access throughout your stay. Whether you are checking ferry schedules, uploading photos of the turquoise waters, or finding the best local restaurants, having a dedicated eSIM ensures you are never left without a map or a way to communicate. OneTapSIM provides a reliable way to manage this digital transition, keeping your focus on the beauty of the Bahamas rather than the technicalities of your mobile connection. Remember that your eSIM is a temporary solution for your trip; once you return home, you can simply delete the eSIM profile from your device settings, leaving your phone exactly as it was before you left.
Get an eSIM for
Plans for the destinations covered in this guide, with instant QR delivery.