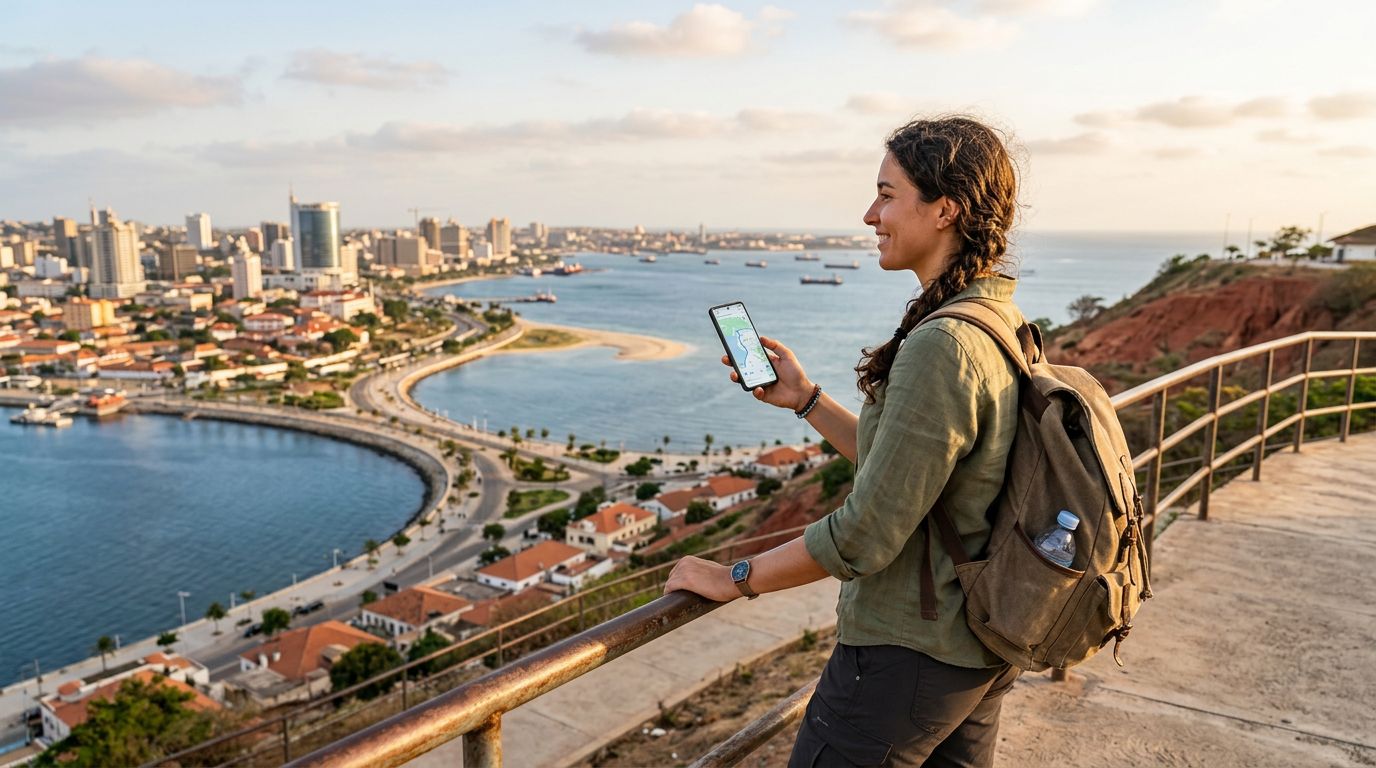
Traveling to Angola offers a unique experience, from the stunning landscapes of the Kwanza River to the vibrant culture of Luanda. As you prepare for your journey, staying connected is essential for accessing maps, translating local languages, and keeping in touch with family. If you are wondering how to activate your eSIM in Angola, you have come to the right place. An eSIM is a digital version of a physical SIM card that allows you to connect to local networks without needing to swap out a tiny plastic chip.
OneTapSIM provides a seamless way to get online the moment you touch down. By choosing a digital solution, you avoid the hassle of finding a local store, dealing with language barriers, or worrying about losing your home SIM card. This guide will walk you through the process of setting up your device so you can focus on enjoying your trip rather than troubleshooting connectivity issues.
Preparing Your Device for eSIM Compatibility
Before you attempt to activate your service, you must ensure your smartphone is ready for the technology. Not every mobile device supports eSIM functionality. Generally, most mid-range and high-end smartphones released within the last few years are compatible. To check if your device is capable, you should consult the official documentation provided by the manufacturer. For iPhone users, you can find specific compatibility details on the apple.com support pages, while Android users can refer to google.com for their specific hardware requirements.
Beyond device compatibility, your phone must be carrier-unlocked. Many phones purchased through a mobile service provider are locked to that specific network. If your phone is locked, it will not accept a digital SIM from a different provider, regardless of whether it is an eSIM or a physical one. If you are unsure about your device status, contact your home service provider before you depart. They can usually unlock your phone upon request, provided you have met the terms of your contract.
Once you have confirmed that your device is unlocked and eSIM-ready, you are ready to proceed with the purchase and installation process. OneTapSIM simplifies this by providing a clear, digital delivery system for your connectivity needs. By ensuring your device is ready beforehand, you save yourself significant frustration once you arrive at the airport.
Step-by-Step Installation Process
The process of installing your digital SIM is straightforward and typically takes only a few minutes. Once you have selected your plan through a provider like OneTapSIM, you will receive a QR code via email. This code is the key to your connection.
For iPhone users, the process involves navigating to the Settings menu, selecting "Cellular" or "Mobile Data," and tapping "Add eSIM." From there, you can choose to scan the QR code provided. If you are using an Android device, the steps are similar: go to "Settings," then "Network & Internet," and find the "SIMs" or "Mobile Network" section. Look for an option that says "Add SIM" or "Download a SIM." You will then be prompted to scan your QR code.
It is important to perform the initial installation while you still have a stable internet connection, such as at home or at your hotel before leaving for the airport. While you can technically set it up upon arrival, having it ready to go ensures that you have data the moment you land in Angola. Once the QR code is scanned, your device will download the necessary network profiles. You may be asked to label your new plan; choosing a name like "Angola Travel" will help you distinguish it from your primary home line.
If you encounter any issues during the installation, double-check that your phone is connected to a stable Wi-Fi network. Sometimes, the installation process can be interrupted if your internet connection is weak. If the QR code does not scan, most devices offer an option to enter the activation details manually, which you can find in the confirmation email sent by your provider.
Managing Your Connection and Troubleshooting in Angola
Once you have arrived in Angola and the installation is complete, you need to configure your settings to ensure you are using your digital plan correctly. Go to your cellular settings and ensure that the "Data Roaming" toggle is turned on for your new eSIM profile. Do not worry about excessive roaming charges; because you are using a dedicated travel eSIM, the data usage is covered by the plan you purchased.
You should also designate your travel eSIM as the primary source for "Cellular Data." This prevents your phone from accidentally using your home provider’s data, which could lead to unexpected charges on your regular monthly bill. Many travelers prefer to keep their home SIM active for calls and SMS while using the eSIM exclusively for data. This allows you to receive important messages from home while enjoying high-speed internet for navigation and social media.
If you find that you are not connecting to a network immediately, try toggling "Airplane Mode" on and off. This forces your phone to re-scan for available local towers. If the issue persists, verify that your data settings are correct and that you have selected the correct network provider in your settings menu. In some cases, a simple restart of your device is enough to resolve minor connectivity hiccups.
OneTapSIM is designed to offer stable connections throughout your travels, but local network conditions can sometimes vary depending on whether you are in a bustling city center or a remote rural area. If you find yourself in a location with poor coverage, moving to a different spot or checking your network selection settings can often improve your experience. Remember that your eSIM is a tool to enhance your trip, not a burden. By following these steps, you ensure that you stay connected to what matters while exploring the beauty of Angola. With your digital SIM properly configured, you are free to navigate, share your experiences, and communicate with ease throughout your entire adventure.