Preparing Your Device for Connectivity in the Solomon Islands
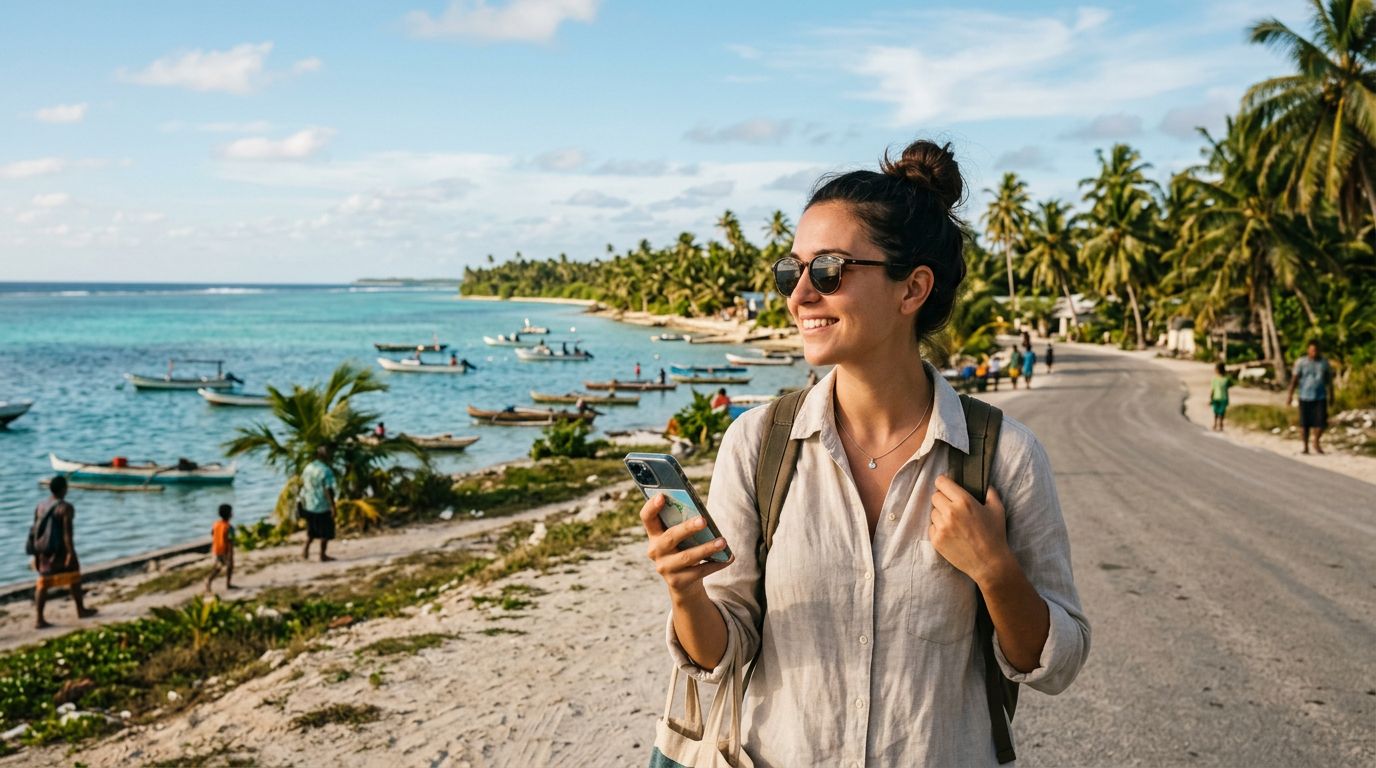
Traveling to the Solomon Islands offers a unique escape into pristine lagoons, lush rainforests, and a rich cultural heritage. Whether you are planning to explore the underwater wonders of Gizo or visit the historic sites around Honiara, maintaining a reliable connection is essential for safety, navigation, and sharing your journey. Modern travel has been transformed by eSIM technology, which allows you to bypass the traditional hunt for physical SIM cards upon arrival at an airport.
Before you begin the process of activating your travel eSIM for a Solomon Islands trip, you must ensure your smartphone is compatible. Most modern smartphones support eSIM functionality, but it is a hardware-specific feature. You should check your device settings to confirm that your phone is unlocked by your home carrier. If your phone is locked to a specific network provider, it will not accept a travel eSIM, and you will be unable to connect to local networks in the Solomon Islands.
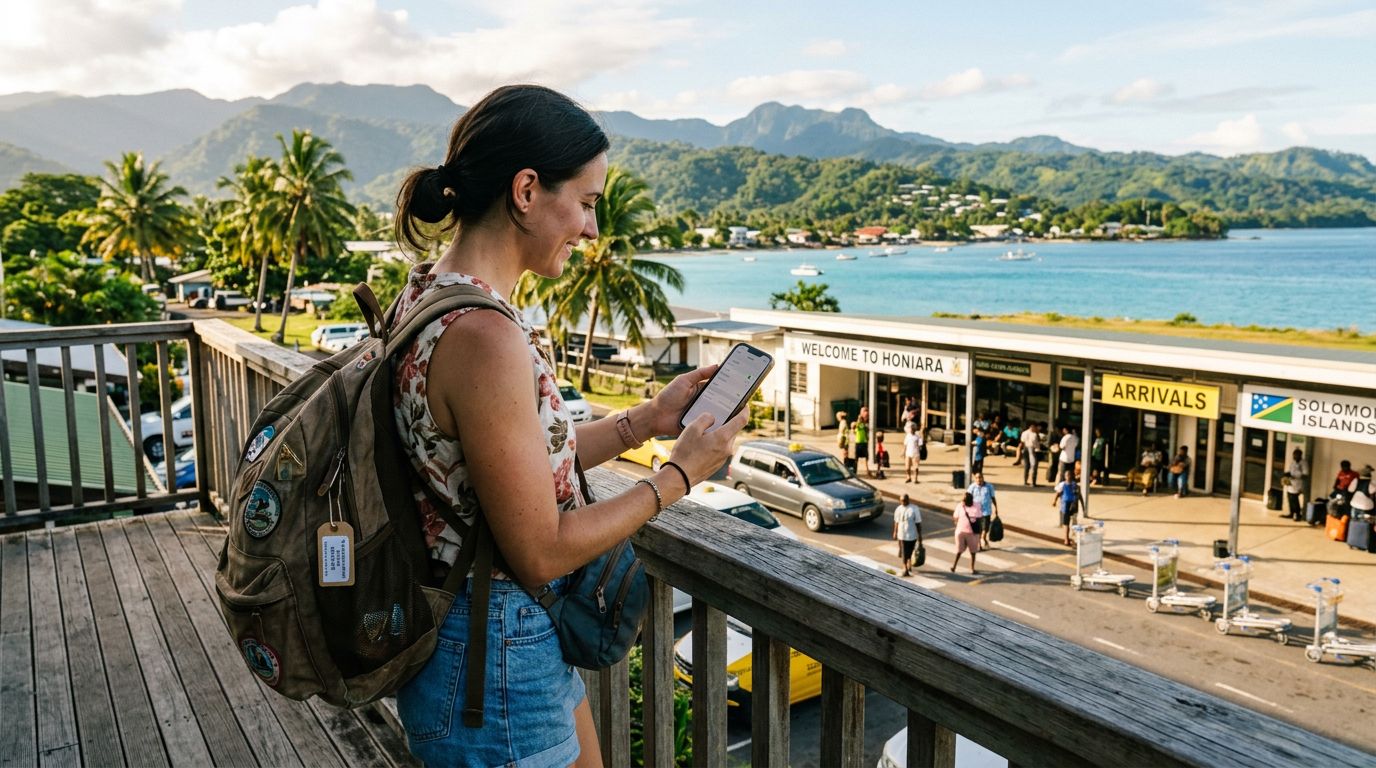
Once you have confirmed your device is unlocked and eSIM-ready, check the compatibility list provided by your eSIM service provider. OneTapSIM offers a streamlined interface that helps you verify if your specific model is supported. Having your device ready before you leave home saves you from the stress of searching for Wi-Fi or physical kiosks after a long flight. You can purchase and install your eSIM profile while still at home, ensuring that your phone is ready to connect the moment your wheels touch the tarmac in Honiara.
The Step-by-Step Installation Process
Installing your eSIM is a straightforward digital process that replaces the need to swap out small, fragile plastic chips. Once you have selected your plan, you will typically receive a QR code or a manual activation code via email. The installation steps vary slightly depending on whether you are using an iOS or Android device, but the core principles remain the same.
For iPhone users, navigate to your Settings menu, select Cellular or Mobile Data, and tap on "Add eSIM." You will have the option to scan a QR code provided by your service provider. If you are unable to scan the code, you can choose to enter the details manually. Once the profile is added, you can label it—for example, "Solomon Islands Travel"—so you can easily distinguish it from your primary home line. It is important to keep the eSIM profile installed but turned off until you arrive at your destination to avoid accidental roaming charges on your home plan.
Android users follow a similar path. Go to your Network & Internet settings, look for the SIMs or Mobile Network section, and select the option to add a SIM or download an eSIM. By following the prompts to scan your QR code, the device will download the necessary credentials to communicate with local Solomon Islands towers. OneTapSIM provides clear instructions during this phase to ensure that your APN settings are configured correctly, which is vital for accessing data services. If you encounter any issues during the installation, ensure your device is connected to a stable Wi-Fi network, as the initial setup requires a brief data handshake to register the profile on the local network infrastructure.
Managing Your Connection Upon Arrival
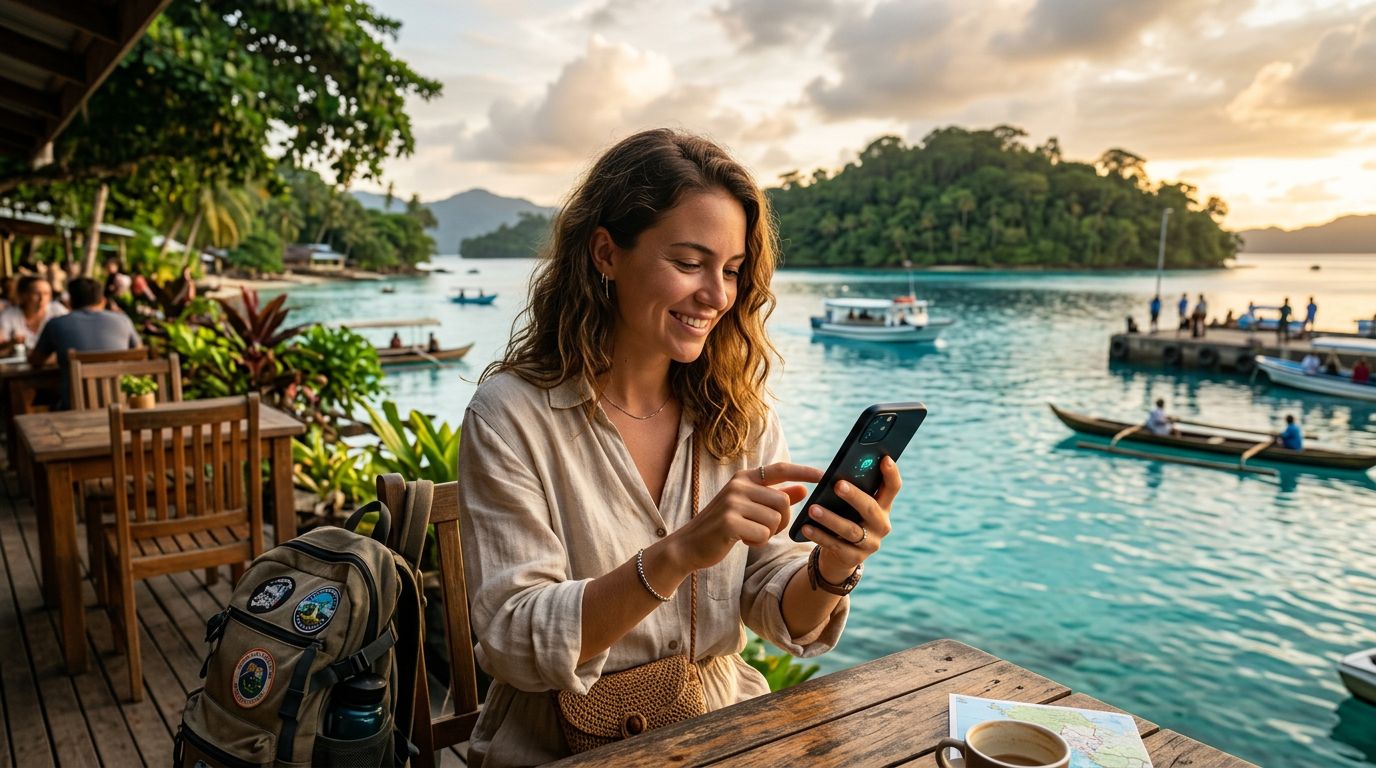
When you land in the Solomon Islands, activating your travel eSIM for a Solomon Islands trip is the final step to getting online. As soon as you arrive, you should navigate to your cellular settings and toggle your travel eSIM to the "On" position. Ensure that "Data Roaming" is enabled for the eSIM profile. While this may sound counterintuitive to those used to avoiding roaming charges, enabling data roaming is necessary for an eSIM to function, as it treats the local partner network as a roaming partner.
To avoid unwanted costs, make sure your primary home SIM is set to "Off" or configured to use only for calls and texts if you need to keep your home number active. Your travel eSIM should be selected as the primary source for cellular data. Once enabled, your phone will search for the local network. This process can take a few minutes, so be patient if you do not see bars immediately. If the connection does not establish automatically, you may need to restart your device or manually select the network provider listed in your setup instructions.
OneTapSIM is designed to offer a seamless transition, but it is always wise to monitor your data usage throughout your trip. While the Solomon Islands offer breathtaking scenery, network coverage can vary significantly between the main islands and more remote provinces. Keep in mind that high-bandwidth activities, such as streaming high-definition video or backing up large photo libraries to the cloud, will consume your data allowance much faster than standard web browsing or map navigation. If you find yourself running low on data, some providers allow you to purchase a top-up or a secondary package directly through their app or website.
Finally, remember that your eSIM is a digital tool meant to enhance your travel experience, not dictate it. Use your connection to pull up maps, translate local phrases, or check weather updates, but do not forget to disconnect occasionally to fully immerse yourself in the natural beauty of the Solomon Islands. By preparing your device, installing your profile correctly, and managing your settings upon arrival, you ensure that your digital connection is a helpful companion rather than a source of frustration. With the right setup, you can focus on the adventure ahead, knowing that you have the connectivity you need to navigate the islands with confidence.