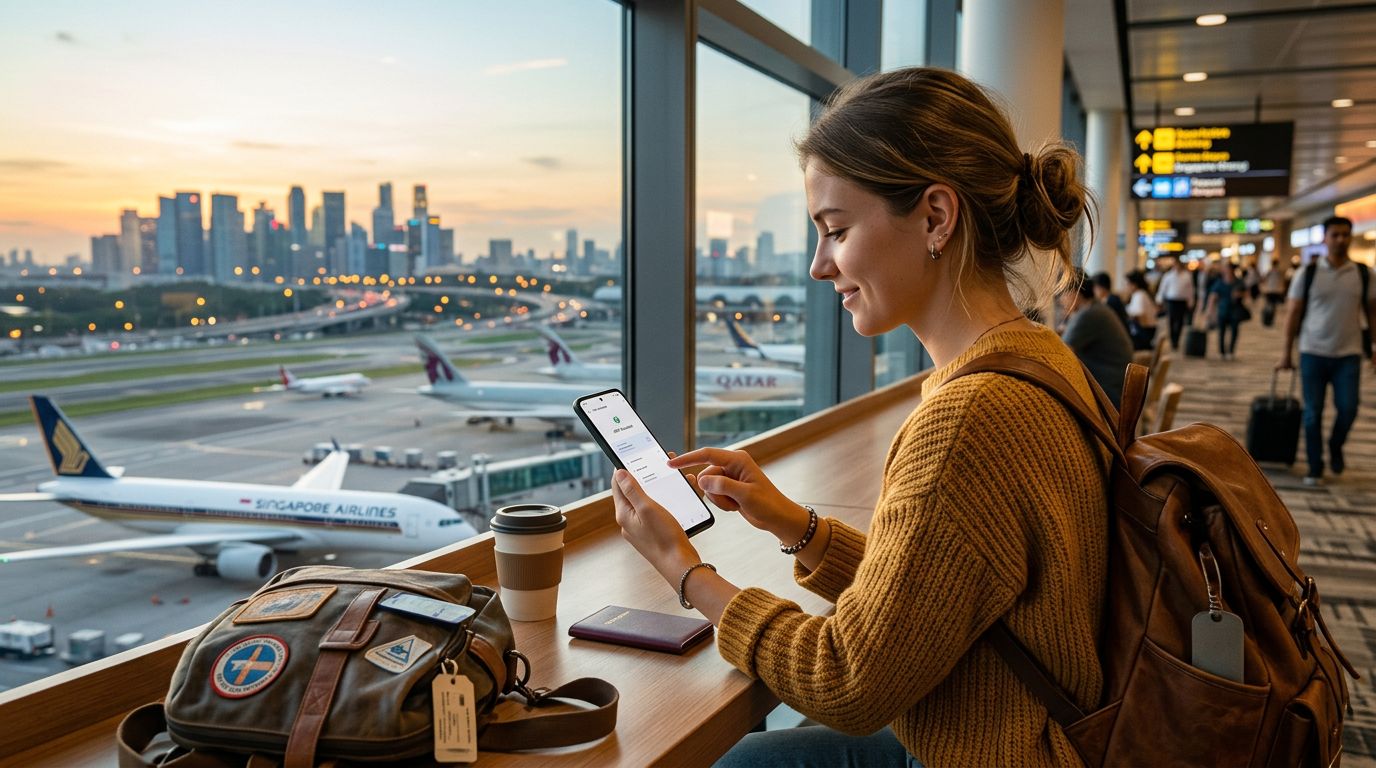
The transition from physical SIM cards to eSIM technology has fundamentally changed how travelers manage connectivity. Instead of hunting for local kiosks at airports or worrying about losing a tiny piece of plastic, you can now download a digital profile directly to your device. If you are an Android user, understanding the activation process is the key to seamless international travel. This guide provides a clear, straightforward path to getting your device connected using an eSIM.
Understanding eSIM Compatibility and Preparation
Before attempting to activate an eSIM, you must confirm that your device is compatible. While most modern Android smartphones support eSIM technology, it is not a universal feature across every model. Generally, flagship devices from the last few years—including various iterations of the Google Pixel and Samsung Galaxy series—are equipped with this functionality.
Beyond hardware compatibility, there is one critical requirement that often catches travelers off guard: carrier locking. Many phones purchased through a mobile service provider are "locked" to that specific carrier's network. If your device is locked, it will not accept an eSIM from a different provider, such as OneTapSIM, even if the hardware is technically capable. Before you travel, contact your home carrier to ensure your device is unlocked. You can usually check this in your phone’s settings under the "About Phone" or "SIM Status" menu, but a quick call to your provider is the most reliable way to confirm.
Once you have verified that your phone is unlocked and supports eSIM, ensure you have a stable Wi-Fi connection. Because an eSIM is a digital profile, the activation process requires downloading data from the provider’s server. Trying to set this up while already in a remote area with no internet will lead to frustration. Complete the initial download and installation while you are still at home or in a location with reliable internet access.
Step-by-Step Activation Process for Android Devices
The process for adding an eSIM can vary slightly depending on the manufacturer and the version of Android you are running, but the core steps remain consistent across most devices.
- Open the Settings app on your Android device.
- Navigate to the "Network & Internet" or "Connections" menu.
- Look for an option labeled "SIMs," "SIM Card Manager," or "Mobile Network."
- Select the option to "Add a SIM" or "Add eSIM."
- You will typically be presented with two options: downloading a profile via a QR code or entering details manually. If you are using a service like OneTapSIM, you will receive a QR code or an activation string. Scan the QR code provided by your travel eSIM provider using your phone’s camera or the built-in scanner in the SIM settings menu.
- Follow the on-screen prompts to confirm the installation. Your phone will communicate with the network provider to register the eSIM profile.
Once the profile is downloaded, it will appear in your list of SIMs. You can label it for easy identification—for example, naming it "Travel" or "OneTapSIM." During the installation, your phone may ask you to designate which SIM should be used for mobile data, calls, and texts. For international travel, you will want to ensure that your travel eSIM is selected for data, while potentially keeping your primary SIM active for calls if you need to receive important messages from home.
Managing Your eSIM Settings While Traveling
After the eSIM is successfully installed, managing your settings is essential to avoid unexpected roaming charges on your primary SIM. When you arrive at your destination, you should toggle your primary SIM’s data roaming to "Off." This prevents your home provider from attempting to connect to local networks and charging you high roaming fees.
With your primary SIM roaming data disabled, you can then enable the data roaming setting for your new eSIM. Most Android devices allow you to toggle between SIMs easily within the "SIMs" or "Network" menu. If you are using a service like OneTapSIM, the eSIM is designed to connect automatically to supported local networks as soon as you land. If for any reason the connection does not establish immediately, toggle "Airplane Mode" on for ten seconds and then off again. This forces the device to re-scan for available local towers.
It is also worth noting that you can keep multiple eSIM profiles on your phone, though you can only have a certain number active at one time. If you travel frequently, you do not necessarily need to delete your old eSIMs immediately. You can simply turn them off in your settings and reactivate them if you return to that specific country later. However, if you are running low on storage or simply prefer a clean interface, you can remove an eSIM profile by selecting it in your settings and choosing the "Delete" or "Remove" option.
Finally, keep in mind that your eSIM is a data-only solution in most travel scenarios. If you need to make traditional voice calls, consider using Voice-over-IP (VoIP) applications. These apps allow you to make calls over your data connection, ensuring you can stay in touch with family and colleagues without relying on expensive international calling plans. By following these steps and preparing before you depart, you can ensure that your Android device provides reliable connectivity throughout your journey, allowing you to focus on your trip rather than your signal bars.