Why an eSIM is Essential for Your Philippine Adventure
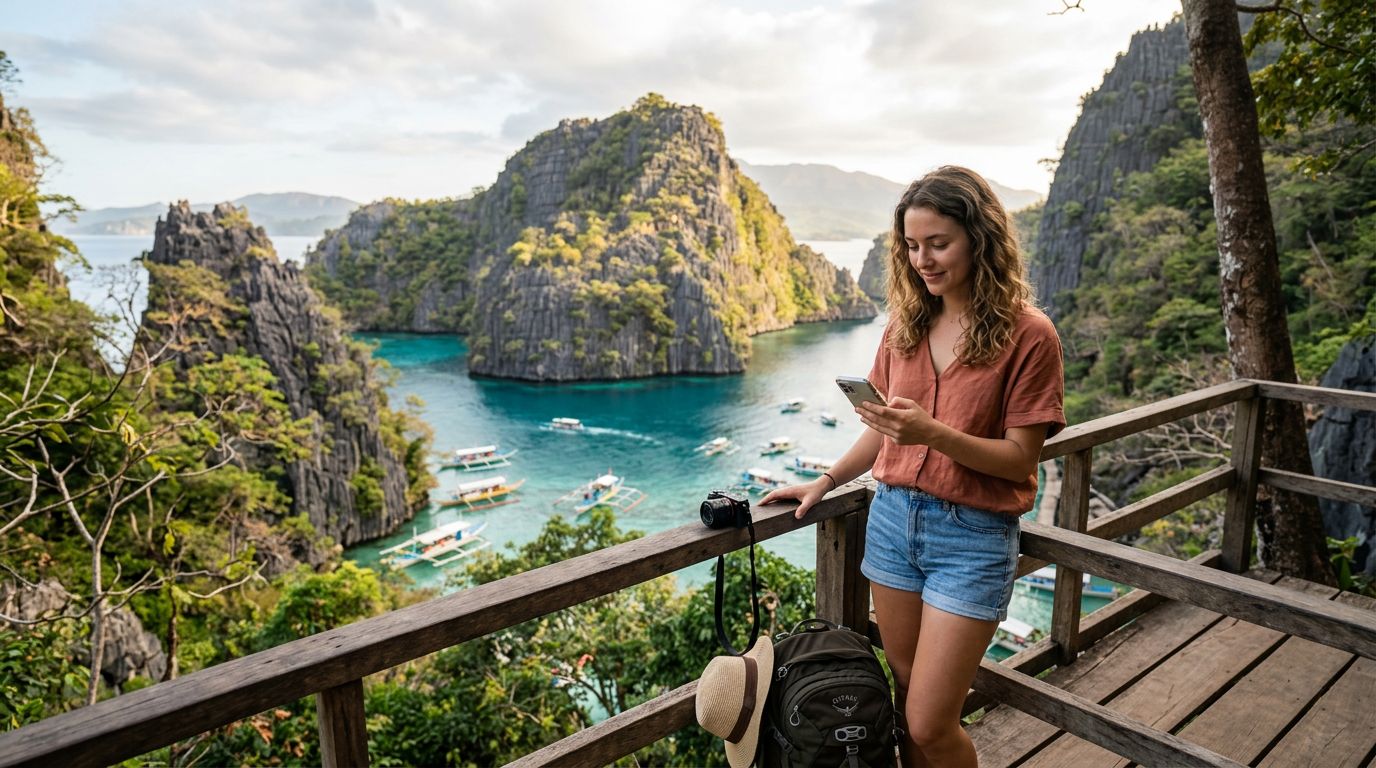
Traveling across the Philippines is an experience like no other. From the pristine white sands of Boracay and the towering limestone cliffs of El Nido to the bustling urban energy of Metro Manila, the country offers a diverse landscape that demands reliable connectivity. Whether you are trying to book a ride-sharing service, checking ferry schedules between islands, or uploading photos of your latest snorkeling adventure, having a stable internet connection is a necessity.
For years, travelers relied on physical SIM cards, which often meant hunting for a kiosk at the airport, waiting in long queues, and carefully swapping out tiny plastic chips while hoping not to lose their original home SIM. The introduction of eSIM technology has completely changed this experience. An eSIM, or embedded SIM, is a digital version of a physical SIM card that is built directly into your smartphone’s hardware. By choosing an eSIM for Philippines travel, you eliminate the need for physical hardware swaps and can activate your connection before your plane even touches down on the runway.
OneTapSIM offers a seamless solution for travelers who prioritize convenience and reliability. Because the process is entirely digital, you can manage your connectivity from your device settings, ensuring that you are ready to explore the moment you arrive. This technology is particularly beneficial in the Philippines, where hopping between islands is common. Having a reliable data plan ensures you can access maps, translate local languages, and stay in touch with your accommodation hosts without worrying about finding a local store to purchase a new SIM card every time you move to a new region.
How to Set Up Your eSIM Before You Depart
Preparation is the key to a stress-free trip. The beauty of modern mobile technology is that you can have your connectivity sorted long before you reach the Ninoy Aquino International Airport or any other port of entry. Before you begin, ensure that your smartphone is carrier-unlocked. If you purchased your phone through a mobile provider, it might be locked to their network, which would prevent you from using an eSIM from a different provider.
Once you have confirmed your device is unlocked, the setup process is straightforward. When you select a plan through a service like OneTapSIM, you will receive instructions on how to add the eSIM to your device. Typically, this involves scanning a QR code or entering details manually in your phone’s cellular settings. Because the eSIM is a software-based profile, your phone treats it as a secondary line. You can keep your home SIM active for calls or texts if necessary, or turn it off entirely to avoid roaming charges, while using your eSIM specifically for data.
It is highly recommended to complete the installation process while you still have a stable Wi-Fi connection at home. By installing the profile beforehand, you ensure that your phone is ready to switch to the local network as soon as you land. Once you arrive in the Philippines, you simply enable the eSIM line in your settings, and your phone will automatically search for the best available local network. This transition is usually instantaneous, allowing you to check your emails or message your ride as you walk toward the terminal exit. If you encounter any issues during setup, most modern smartphones provide clear troubleshooting steps through their official support pages, ensuring you are never left without a way to connect.
Maximizing Your Connectivity Across the Islands
The Philippines is an archipelago consisting of over 7,000 islands, which presents unique challenges for mobile network coverage. While major cities like Cebu, Davao, and Manila enjoy robust 4G and 5G signals, remote areas and smaller islands can have varying levels of service. This is why choosing a high-quality eSIM provider is vital. By leveraging multiple network partnerships, a service like OneTapSIM helps ensure that you have the best possible chance of staying connected, even when you are moving between different provinces.
To get the most out of your data while traveling, consider adjusting a few settings on your device. First, monitor your data usage through your phone’s built-in cellular settings. High-definition video streaming and automatic cloud backups can consume a significant amount of data quickly. If you are planning to spend time in more remote areas where data speeds might be slower, try downloading offline maps or travel guides while you are still in a city with strong connectivity. This ensures that even if your signal drops, you still have access to the essential information needed to navigate your surroundings.
Another tip for maintaining connectivity is to manage your background app refresh settings. Many applications use data in the background to update content, which can drain your data allowance without you realizing it. By restricting background data for non-essential apps, you preserve your bandwidth for the tasks that matter most, such as navigation, messaging, and searching for local recommendations.
When you choose an eSIM for Philippines travel, you are opting for a smarter, more efficient way to stay connected. You avoid the clutter of physical cards, the frustration of language barriers at airport kiosks, and the risk of losing your primary SIM card. Instead, you gain the freedom to focus on the breathtaking scenery, the vibrant culture, and the warm hospitality that defines the Philippine experience. Whether you are hiking the rice terraces in Banaue or relaxing on the beaches of Siargao, having a reliable digital connection allows you to share your journey with friends and family back home in real-time, making your travel experience smoother and more enjoyable from start to finish.
Get an eSIM for
Plans for the destinations covered in this guide, with instant QR delivery.