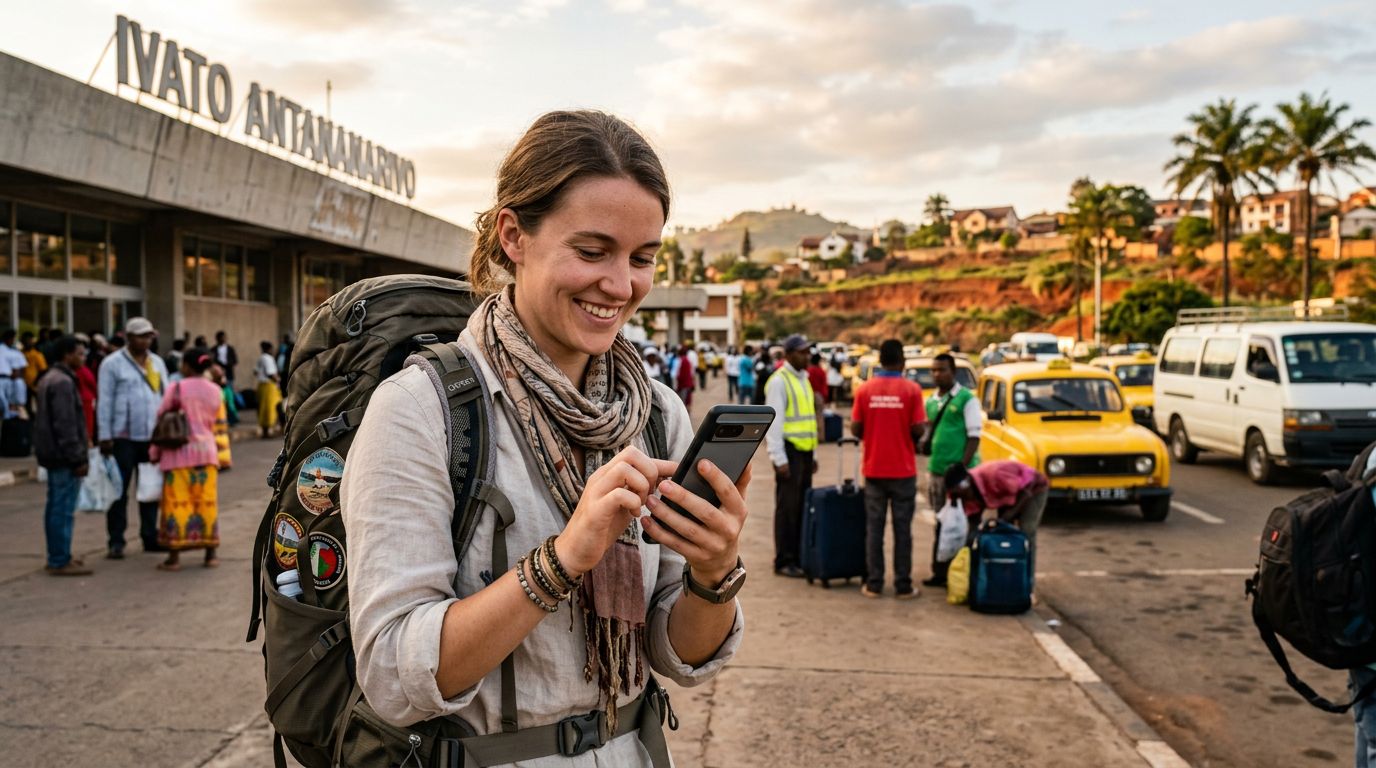
Traveling internationally used to mean juggling physical plastic cards, hunting for local kiosks at the airport, or risking exorbitant roaming fees from your home carrier. With the rise of eSIM technology, the process has become significantly more streamlined. If you own a modern smartphone, you likely have the capability to run two different networks simultaneously. Understanding how to switch networks on dual SIM devices is an essential skill for any traveler who wants to stay connected without the stress of losing service or paying unnecessary charges.
Understanding Dual SIM Functionality for Travelers
Dual SIM technology allows your phone to hold two distinct cellular profiles at the same time. In the context of travel, this means you can keep your home phone number active for essential calls or two-factor authentication texts while using a secondary eSIM for data. This setup ensures you remain reachable on your primary line while enjoying the cost-effectiveness and reliability of a local or regional data plan provided by services like OneTapSIM.
Most modern smartphones support a combination of a physical SIM card and an eSIM, or even two active eSIMs simultaneously. When you arrive in a new country, your phone does not automatically know which network to prioritize for data. By default, it might try to connect to your home carrier’s roaming partner, which can be expensive. By configuring your dual SIM settings correctly, you take control of your connectivity. You can designate one SIM for voice and SMS, and the other specifically for mobile data. This separation is the key to managing your travel expenses and ensuring your internet connection remains stable regardless of your location.
Configuring Your Device for Network Switching
The process for switching networks varies slightly depending on whether you are using an iPhone or an Android device. For Apple users, the settings are centralized within the Cellular menu. You can label your SIMs—for example, naming one "Primary" and the other "Travel"—to make them easy to distinguish. Within the Cellular Data settings, you can select which SIM is responsible for your internet connection. A critical feature to enable is "Allow Cellular Data Switching." When this is toggled on, your phone can automatically switch data usage to the secondary SIM if the primary one loses signal, though for travelers, it is often better to manually lock the data to your travel eSIM to avoid accidental roaming charges.
Android users will find similar options under the Network & Internet or Connections menu, usually labeled as SIM Manager. Here, you can toggle between your active SIMs and decide which one handles calls, messages, and data. If you are using a OneTapSIM profile, it will appear as an additional cellular plan in this menu. Once you have installed your eSIM, you can simply tap on it to activate it. If you find that your data connection is slow or nonexistent in a specific area, you can return to these settings to manually select a different network provider if your eSIM supports multiple roaming partners. This manual selection is often the fastest way to resolve connectivity issues when moving between rural and urban areas.
Best Practices for Managing Multiple Networks
Managing two networks effectively requires a bit of proactive planning. Before you leave home, ensure your device is carrier-unlocked. A locked phone will only accept SIM cards from your original provider, rendering dual SIM functionality useless. Once you have confirmed your device is unlocked, you should install your travel eSIM before you depart. Most eSIMs can be added to your phone while you are still at home, and they will simply remain inactive until they detect a signal in the destination country.
Once you land, turn off "Data Roaming" for your home SIM. This is the most important step to prevent your home carrier from charging you for background data usage. Keep your home SIM active for "Voice" and "SMS" if you need to receive important calls, but ensure your travel eSIM is set as the primary source for "Cellular Data." If you are traveling through multiple countries, you may need to update your network settings upon crossing borders. Some eSIMs are regional, meaning they will automatically switch to the best available local network as you move. Others may require you to toggle the "Network Selection" setting from "Automatic" to "Manual" if you experience a drop in coverage.
If you are using OneTapSIM, the installation process is designed to be straightforward, usually involving a simple QR code scan or a direct app-based activation. Once the profile is installed, it functions just like a local carrier. If you ever need to switch back to your home network, you do not need to delete your travel eSIM. You can simply toggle it off in your phone's settings and toggle your home SIM back on. This flexibility allows you to keep your travel profile for future trips or delete it once your journey concludes.
By mastering these settings, you eliminate the reliance on public Wi-Fi networks, which are often insecure and unreliable. Having a dedicated data line allows you to use navigation apps, translation tools, and ride-sharing services with confidence. Whether you are navigating a bustling city or exploring remote regions, knowing how to switch networks on dual SIM devices ensures that you are always in control of your digital footprint. It turns your smartphone into a truly global tool, allowing you to move across borders with the same ease as you move between rooms in your home. Remember to check your device’s support pages if you encounter specific hardware limitations, but for the vast majority of modern travelers, these simple configuration steps are all that is required to stay connected anywhere in the world.