Preparing Your iPhone for eSIM Activation
Before you begin the process of setting up your travel eSIM, you need to ensure your device is ready to handle the technology. An eSIM, or embedded SIM, is a digital version of the physical plastic cards you have used in the past. Because it is built directly into the hardware of your iPhone, it allows you to switch between different networks without needing to swap out tiny pieces of hardware.
First, verify that your iPhone is compatible. Most models released from 2018 onwards support eSIM functionality. You can check your device settings or consult the manufacturer’s documentation to confirm that your specific model is carrier-unlocked. If your phone is locked to a specific carrier, it will not be able to accept an eSIM from a different provider, which is a common hurdle for international travelers.
Next, ensure your iPhone is running the latest version of iOS. Apple frequently updates its software to improve connectivity and streamline the management of cellular plans. Keeping your operating system current helps prevent bugs during the installation process. You should also ensure you have a stable Wi-Fi connection. While you will eventually be using cellular data, the initial download and activation of your eSIM profile require a reliable internet connection to communicate with the provider’s servers.
Finally, have your activation details ready. When you purchase a plan from a provider like OneTapSIM, you will typically receive a QR code or a set of manual installation instructions via email. Having this information accessible on a separate device, such as a laptop or a travel companion’s phone, makes the scanning process much smoother. If you are traveling solo, you can also take a screenshot of the QR code and save it to your photos, though printing it out is often the most foolproof method.
Step-by-Step Installation Process
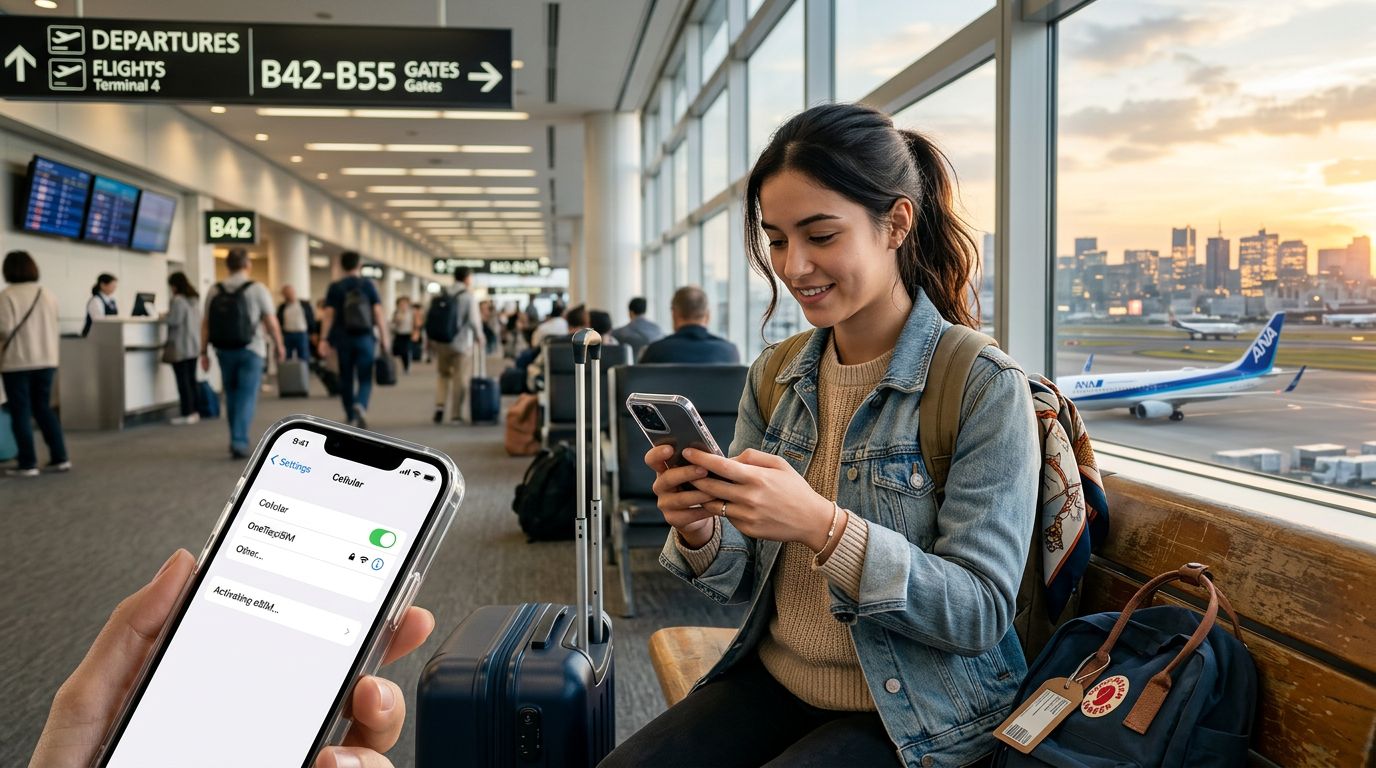
Once your device is prepared, the actual installation is straightforward. To start, go to your iPhone’s "Settings" app and tap on "Cellular" or "Mobile Data." From there, look for the option that says "Add eSIM" or "Add Cellular Plan." This will open the camera interface, which is designed to scan the QR code provided by your travel eSIM service.
Position your phone so that the QR code is centered in the frame. Your iPhone should automatically recognize the code and begin the activation process. If you encounter any issues with the camera, you can select the "Enter Details Manually" option at the bottom of the screen. This will allow you to type in the SM-DP+ address and activation code provided by your service provider.
After the device detects the plan, you will be prompted to label your new cellular line. It is highly recommended to give it a clear name, such as "Travel" or "OneTapSIM," so you can easily distinguish it from your primary home SIM. This labeling is crucial because, once you arrive at your destination, you will need to toggle between your home line and your travel line.
The final step in the installation is choosing your default line for voice and data. For most travelers, the best practice is to keep your home line as the default for calls and texts (if you need to receive important messages) while setting your new eSIM as the primary line for cellular data. This configuration ensures you have access to maps, translation apps, and social media while avoiding the high roaming charges associated with your home carrier.
Managing Your eSIM Settings While Traveling
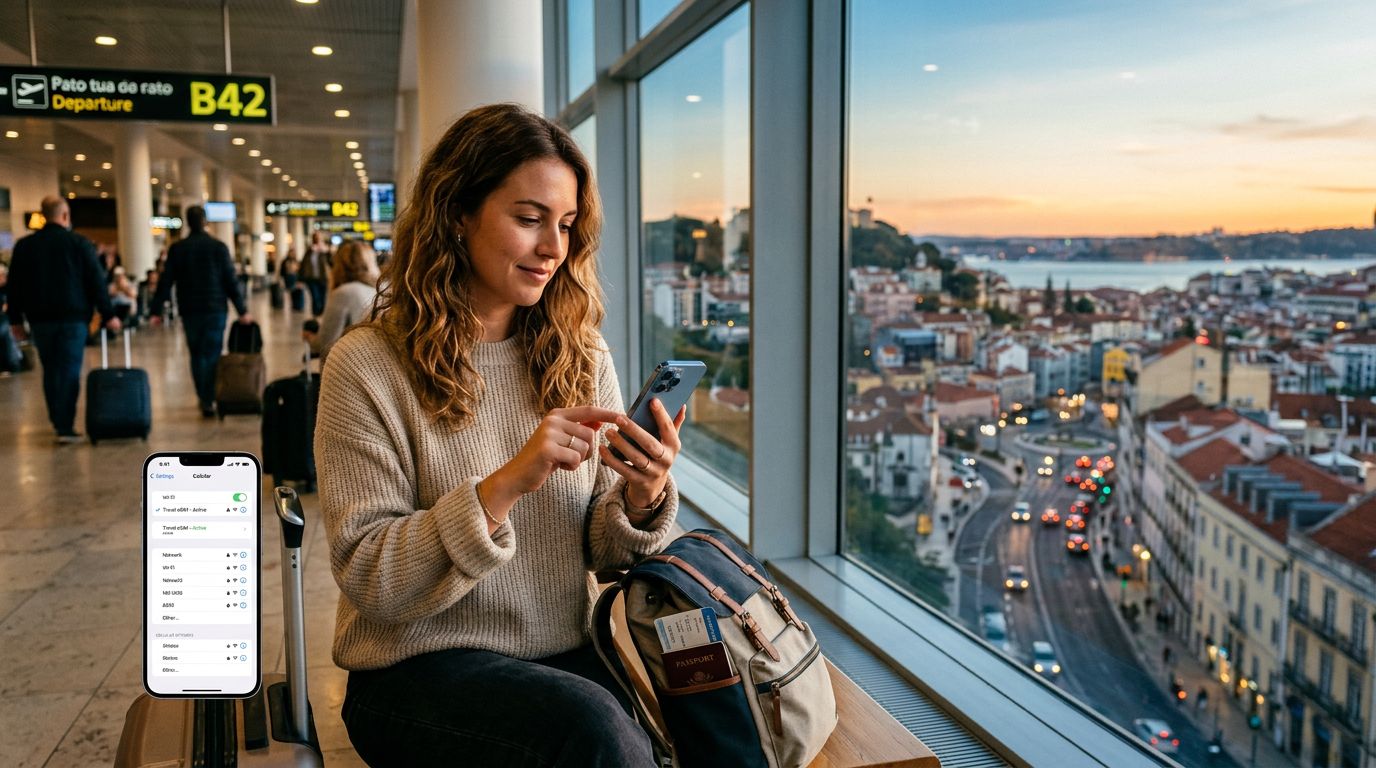
After you have successfully installed your eSIM, you need to know how to manage it once you land. As soon as you arrive at your destination, go to "Settings" and then "Cellular." Tap on your travel eSIM and ensure that the "Turn On This Line" toggle is switched to the "On" position. You should also ensure that "Data Roaming" is enabled specifically for your travel eSIM. Note that this is different from enabling roaming on your home SIM; enabling roaming on your home SIM is what typically triggers those expensive daily fees, so keep that one turned off.
If you find that you are not getting a signal immediately, try toggling "Airplane Mode" on and off. This forces the iPhone to re-scan for available local networks. Occasionally, it may take a minute or two for the device to register with the local towers. If the connection remains unstable, check your "Network Selection" settings under the Cellular menu. It is usually set to "Automatic," but if you are in a remote area, you might need to manually select a network from the list provided.
One of the greatest advantages of using a service like OneTapSIM is the ability to monitor your data usage directly through your iPhone’s settings. Under the "Cellular" menu, you can see exactly how much data your travel plan has consumed. This helps you manage your usage effectively, especially if you are on a plan with a specific data cap. If you find yourself running low, you can often purchase a top-up or a new plan through the provider's website.
Remember that your home SIM remains active in the background unless you turn it off. If you want to avoid any risk of accidental roaming charges, you can temporarily disable your home SIM line in the Cellular settings menu. This effectively turns your iPhone into a local device for the duration of your trip. When you return home, simply toggle your home SIM back on and disable the travel eSIM. This simple workflow ensures that you stay connected globally without the stress of unexpected bills or connectivity gaps. By following these steps, you can focus on enjoying your journey rather than worrying about your phone settings.