Preparing Your Device for Connectivity
Traveling to Grenada, the "Spice Isle," offers a blend of pristine beaches, lush rainforests, and vibrant culture. Whether you are visiting the historic streets of St. George’s or relaxing on Grand Anse Beach, staying connected is essential for navigation, sharing photos, and managing your travel itinerary. An eSIM is the most efficient way to maintain data access without the hassle of swapping physical SIM cards or dealing with local kiosks upon arrival.
Before you begin the process of activating your service, you must ensure your smartphone is compatible. Most modern smartphones released within the last few years support eSIM technology. To check if your device is ready, you should verify that it is carrier-unlocked. If your phone is locked to a specific domestic provider, it will not accept a digital SIM from another source. You can usually confirm this by checking your device settings under the cellular or mobile network menu to see if an "Add eSIM" or "Add Cellular Plan" option is available.
It is also recommended to update your phone’s operating system to the latest version. This ensures that all network settings are current and that your device can correctly interpret the configuration profiles provided by your eSIM carrier. If you are using an iPhone, you can verify your carrier lock status in the general settings menu. For Android users, the process varies slightly by manufacturer, but the option to manage mobile networks is typically found within the settings interface. Once you have confirmed that your device is unlocked and updated, you are ready to proceed with your OneTapSIM setup.
How to Activate Your eSIM in Grenada
The process of activating your eSIM is designed to be straightforward, allowing you to get online shortly after landing or even while you are still preparing for your trip. The most common method involves scanning a QR code provided after you purchase your plan.
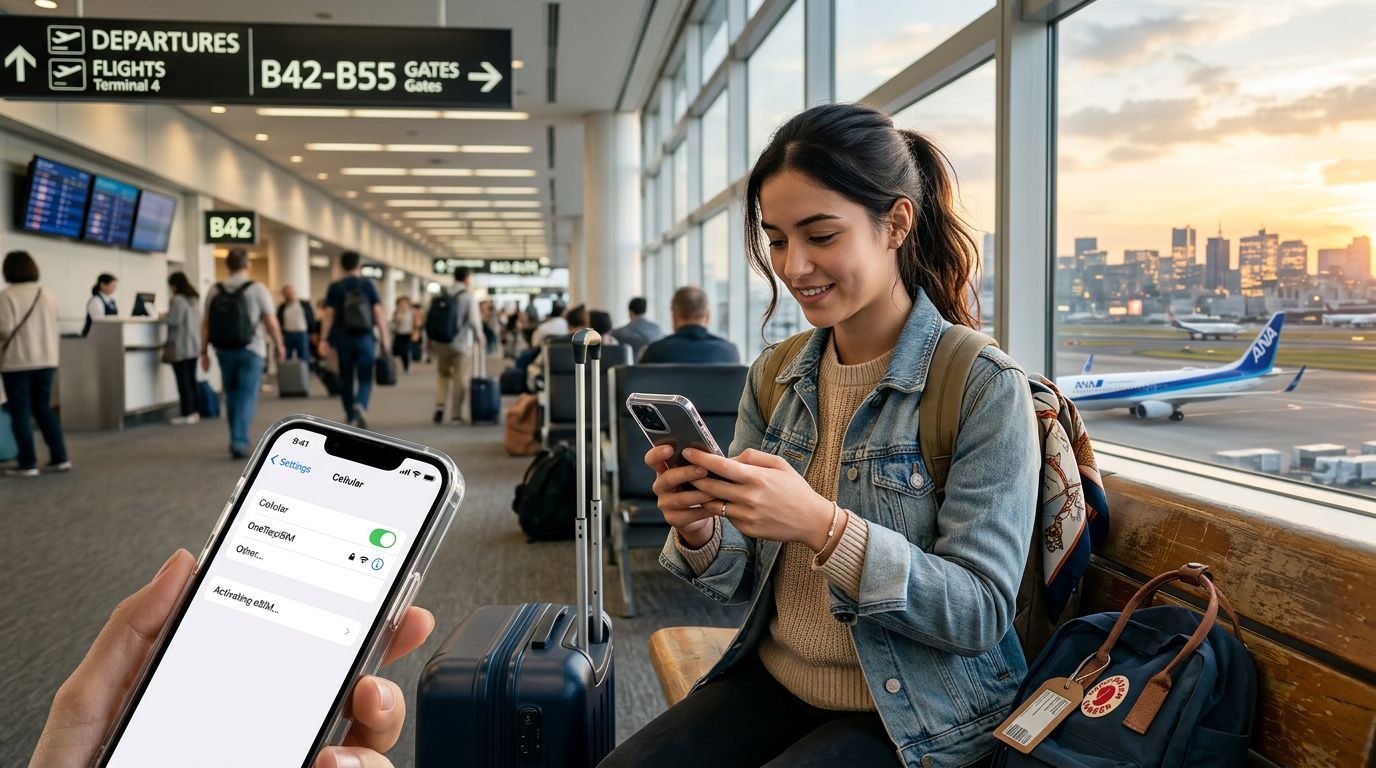
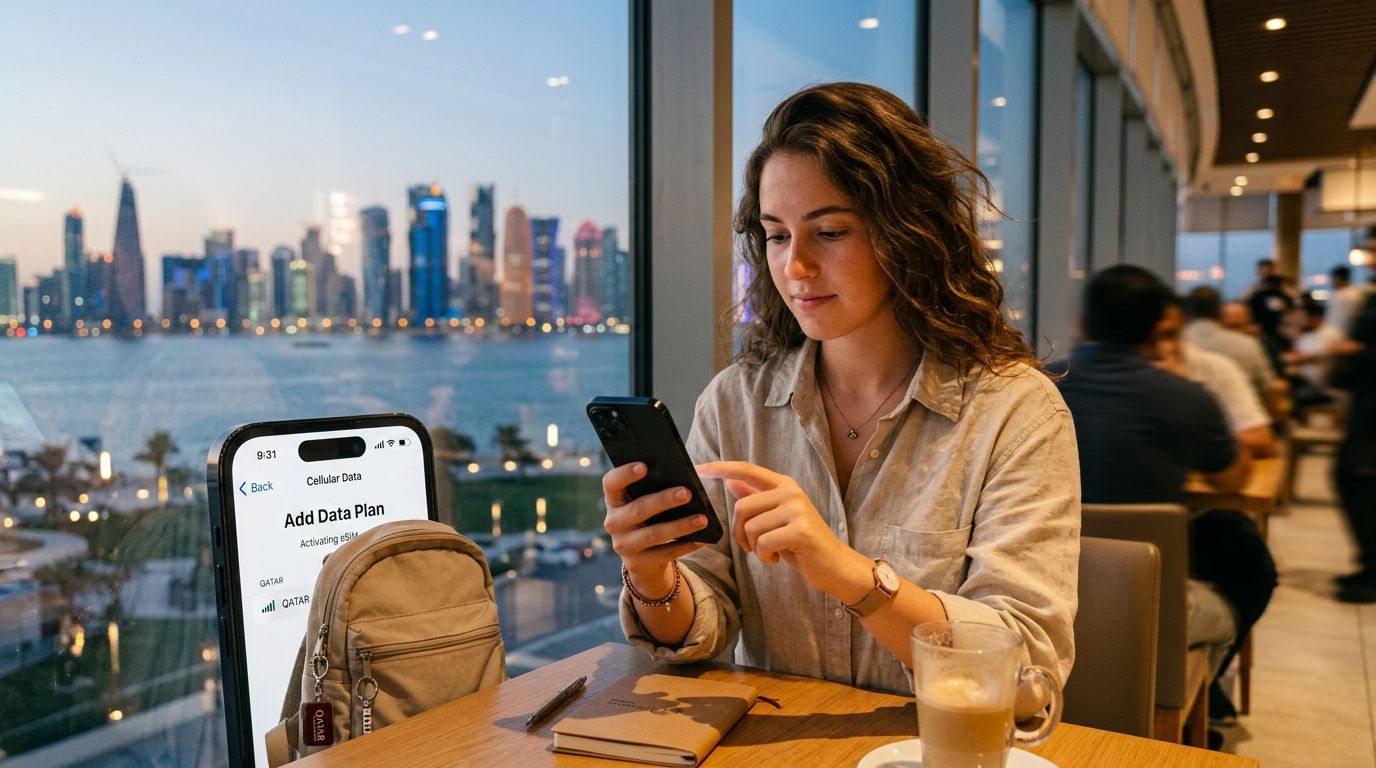
For iPhone users, navigate to your Settings app and select "Cellular" or "Mobile Data." From there, tap on "Add eSIM." You will typically be given the option to use a QR code. Position your camera to scan the code provided by your service provider. Once scanned, your phone will begin downloading the necessary network profile. You may be prompted to label your new plan; choosing a name like "Grenada Travel" helps you distinguish it from your primary home SIM. After the profile is installed, ensure that "Data Roaming" is toggled on for the eSIM profile, as this is required for the service to function while roaming on local networks in Grenada.
If you are using an Android device, the steps are similar. Open your Settings, go to "Network & Internet," and select "SIMs" or "Mobile Network." Tap the "+" icon or "Add SIM" to initiate the setup. Select "Download a SIM" if prompted, and use your camera to scan the provided QR code. Follow the on-screen instructions to finalize the installation. Just like with iOS, ensure that data roaming is enabled within the specific settings for your new eSIM to allow for seamless connectivity.
OneTapSIM provides clear instructions during the purchase process to ensure that even those who are not tech-savvy can complete the installation. If you encounter any issues, ensure you are connected to a stable Wi-Fi network during the download phase, as the initial profile configuration requires a brief internet connection to register your device with the local network towers.
Managing Your Data and Troubleshooting Common Issues
Once your eSIM is active, you can manage your data usage directly through your phone’s settings. It is helpful to set your primary home SIM to "Voice Only" or turn it off entirely if you want to avoid accidental roaming charges from your home carrier. By setting your OneTapSIM plan as the primary source for "Cellular Data," your phone will prioritize the travel data for all internet-based activities, such as using maps, social media, or messaging apps.
If you find that you are not immediately connected after arriving in Grenada, do not panic. It can sometimes take a few minutes for your device to handshake with the local towers. Try toggling "Airplane Mode" on for ten seconds and then off again. This forces the device to search for available networks. Additionally, check your APN (Access Point Name) settings. While most modern devices configure this automatically, sometimes a manual entry is required. You can find these settings in your cellular data network menu; your service provider’s support page will list the specific string of text needed if the automatic configuration fails.
Another common point of confusion is the difference between your primary SIM and your travel eSIM. Your phone is designed to handle both simultaneously, but it is important to tell the operating system which one to use for data. If you are having trouble loading websites, double-check that your phone has not defaulted back to your home carrier’s data plan. You can verify this by looking at the signal bars at the top of your screen; most phones will show two sets of signal indicators, and you should ensure the one associated with your travel eSIM is the one currently active for data.
By following these steps, you can enjoy the freedom of high-speed connectivity throughout your stay in Grenada. Whether you are uploading images of the underwater sculpture park or coordinating a dinner reservation in St. George’s, having a reliable digital connection ensures your trip remains stress-free. Remember that your eSIM is a temporary solution, and you can easily remove the profile from your device settings once your trip concludes or your data plan expires, leaving your phone exactly as it was before you left home.