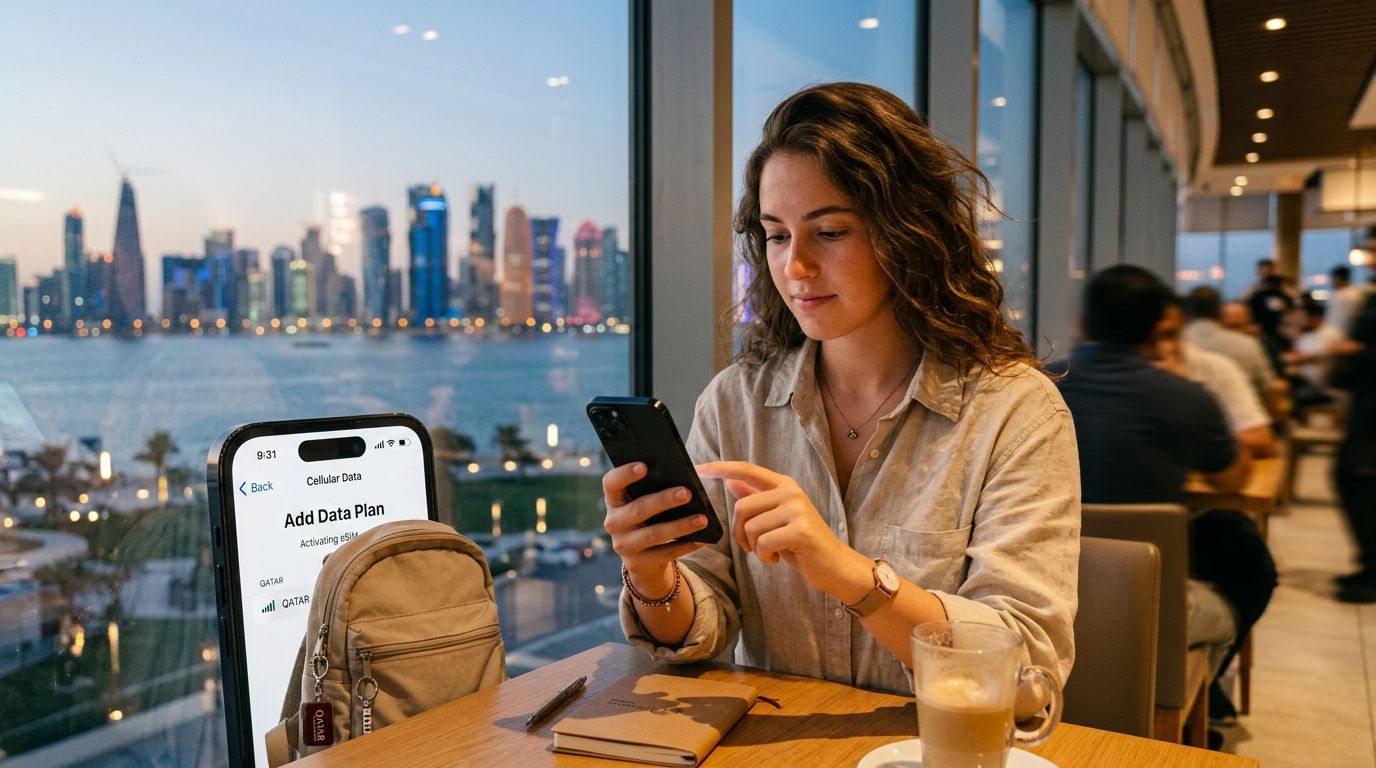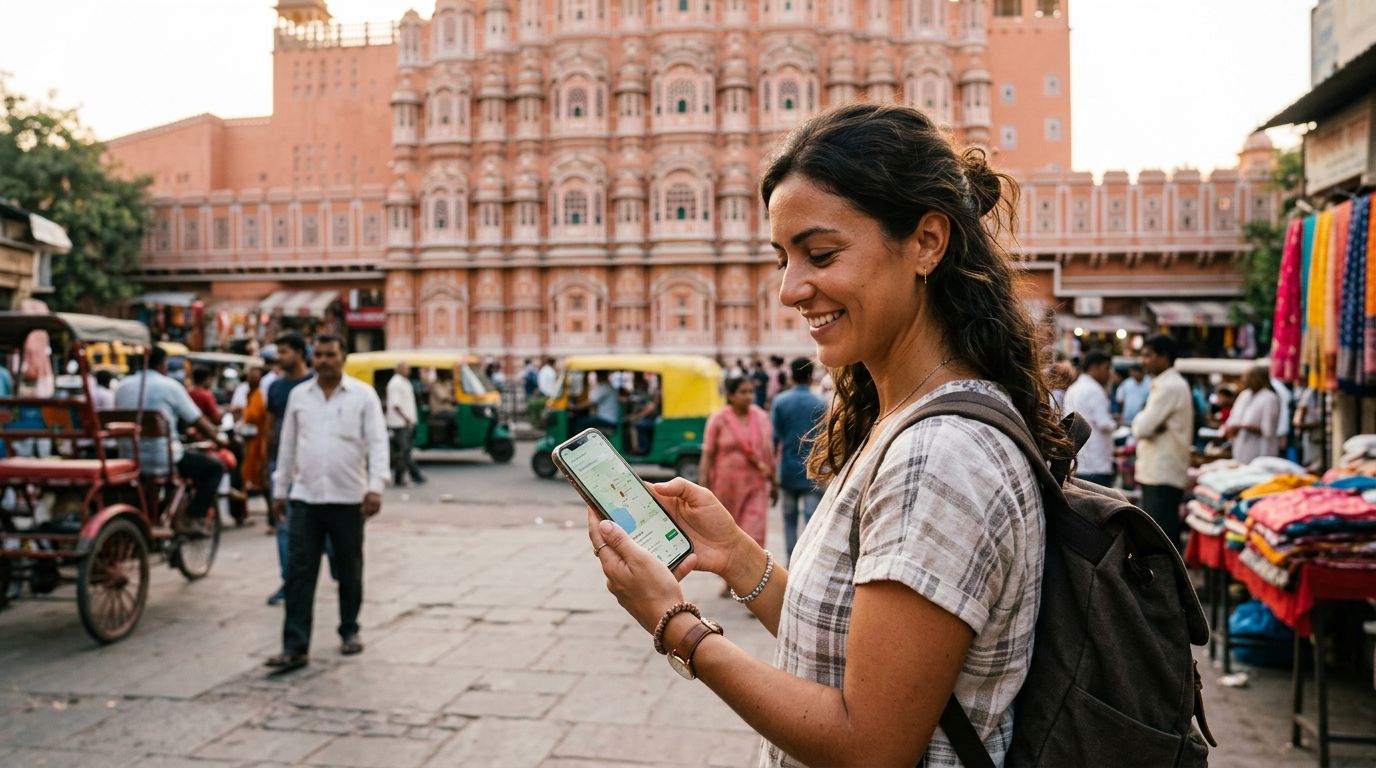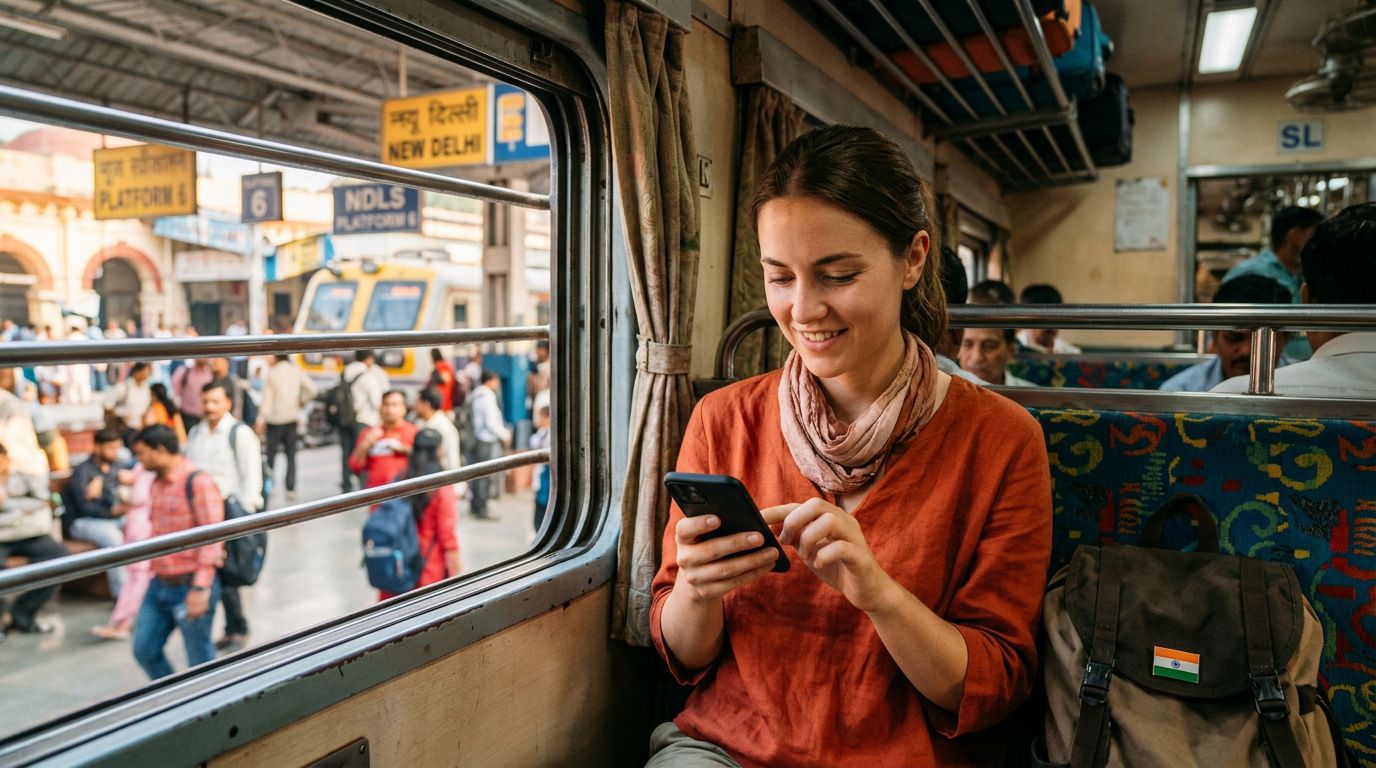
Traveling to India is an incredible experience, offering a vibrant mix of bustling cities, serene landscapes, and rich cultural history. Whether you are exploring the narrow lanes of Old Delhi, visiting the architectural marvel of the Taj Mahal, or relaxing on the beaches of Goa, staying connected is essential. Traditional physical SIM cards often involve long queues at airport kiosks, the need to provide physical identification documents, and the risk of losing your original home SIM card. This is where travel eSIM technology changes the game.
An eSIM, or embedded SIM, is a digital version of a traditional SIM card. It is built directly into the hardware of modern smartphones, allowing you to switch between carriers without swapping out physical chips. For travelers heading to India, using a service like OneTapSIM allows you to manage your connectivity entirely through your device settings, ensuring you have data the moment you land.
Preparing Your Device Before You Travel
Before you attempt to activate your travel eSIM, you must ensure your smartphone is compatible and ready for the transition. Not every phone supports eSIM technology, so the first step is verifying your device status. Most flagship smartphones released within the last few years—including recent iPhone models and high-end Android devices—are equipped with eSIM functionality.
You can check your device compatibility by visiting the official support pages for your manufacturer, such as support.apple.com or support.google.com. Generally, if your phone allows you to add a cellular plan through the settings menu, it is likely compatible.
Beyond hardware compatibility, your phone must be carrier-unlocked. Many phones purchased through mobile network providers are locked to that specific carrier. If your device is locked, it will reject the eSIM profile during the installation process. Contact your home service provider before your trip to request a network unlock. If you are unsure about your device status, check your phone’s settings under the "General" or "About" tabs to see if there is an option for "Carrier Lock" or "Network Restrictions."
Finally, ensure your device is running the latest software version. Manufacturers frequently release updates that improve eSIM stability and network compatibility. Having the most current operating system helps prevent errors during the activation process.
How to Activate Your Travel eSIM in India
The activation process is designed to be efficient, but it does require a stable internet connection. It is highly recommended to complete the installation while you are still at home or at a location with reliable Wi-Fi, such as a hotel lobby or a cafe with internet access.
For iPhone users, the process typically involves navigating to Settings, selecting Cellular or Mobile Data, and tapping "Add eSIM." You will usually be prompted to scan a QR code provided by your eSIM provider, such as OneTapSIM. Once the QR code is scanned, your phone will communicate with the network to download the necessary credentials. Follow the on-screen prompts to label your new plan, such as "India Travel," so you can easily distinguish it from your primary home line.
For Android users, the path is similar. Go to Settings, look for Network & Internet or Connections, and select SIM Manager or Mobile Network. Tap the option to add an eSIM or download a SIM. You will then scan the provided QR code. If the QR code is not available, most providers allow for manual entry of activation details, which include an SM-DP+ address and an activation code.
Once the profile is downloaded, it will appear in your list of cellular plans. You do not need to activate it until you arrive in India. When you land, you can simply toggle the eSIM "On" in your settings. Ensure that "Data Roaming" is enabled for your travel eSIM, as this is often required for the data connection to function correctly while roaming on local networks.
Managing Your Connectivity and Troubleshooting
Once your eSIM is active, you may have multiple SIMs enabled on your device. Most modern phones allow you to choose which SIM is used for cellular data, calls, and text messages. For a trip to India, you should set your travel eSIM as the primary source for cellular data. This prevents your home carrier from triggering expensive roaming charges on your primary line.
If you find that your data is not working immediately upon arrival, do not panic. First, toggle "Airplane Mode" on and off; this forces your device to scan for local towers again. If that does not resolve the issue, check your Access Point Name (APN) settings. Occasionally, a device may require a specific APN configuration to connect to a local Indian network. Your eSIM provider’s support documentation will usually list the required APN settings if they are needed.
Another common issue involves network selection. If your phone does not automatically connect, go to your cellular settings and look for "Network Selection." Switch it from "Automatic" to "Manual" and select one of the available networks from the list provided. This often forces the device to establish a handshake with the local infrastructure.
Remember that an eSIM is designed for data. If you require a local phone number for voice calls, ensure your chosen plan specifically includes that feature. Many travelers find that using data-based communication apps is sufficient for their needs, as these apps allow for voice and video calls over the internet. By managing your settings correctly and understanding how to toggle between your home SIM and your travel eSIM, you can enjoy seamless connectivity throughout your journey in India without the stress of traditional roaming hurdles.
Obtenha um eSIM para
Planos para os destinos abordados neste guia, com entrega instantânea por QR.