Preparing Your Device for Connectivity in the Maldives
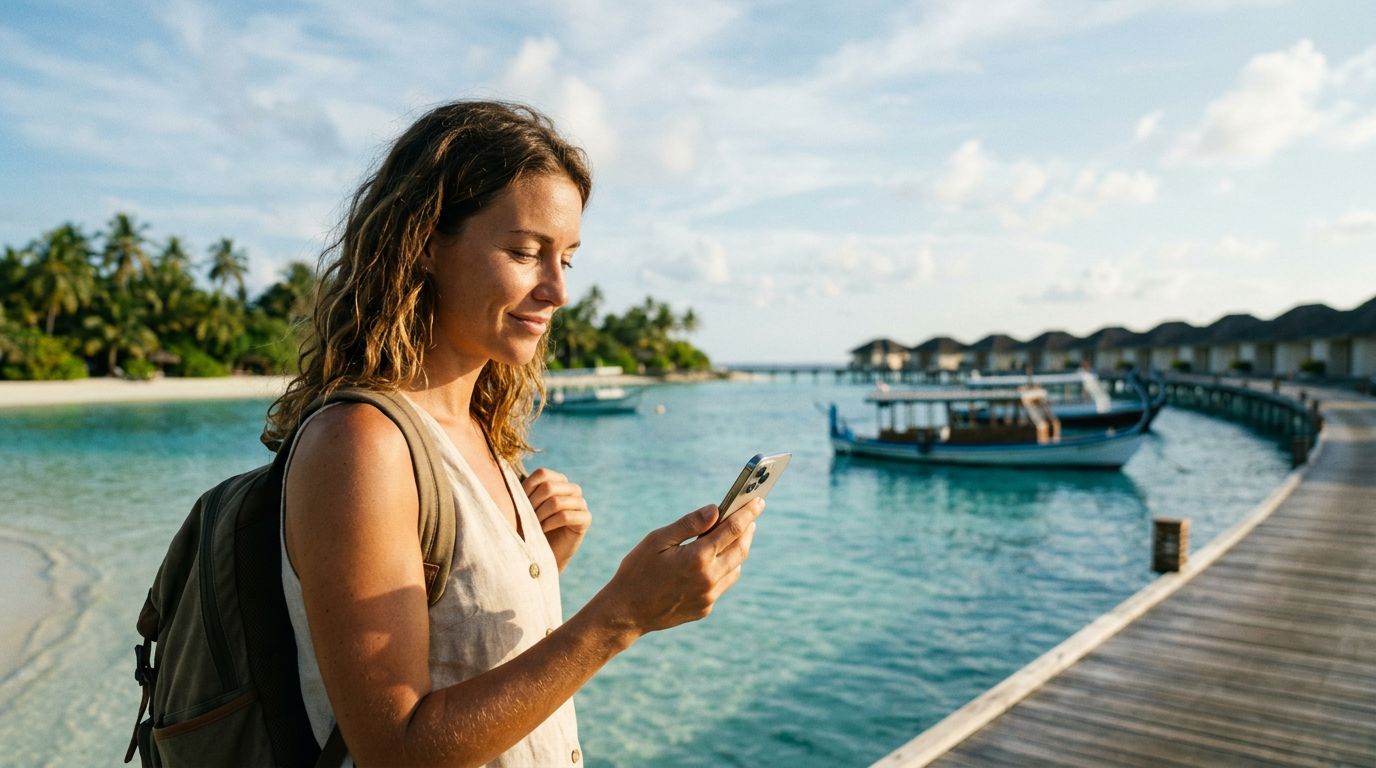
The Maldives is a dream destination defined by crystal-clear lagoons, overwater bungalows, and vibrant coral reefs. While you are there to disconnect from the daily grind, having reliable internet access is essential for sharing your experiences, navigating between islands, and staying in touch with those back home. Traditional roaming can be notoriously expensive and cumbersome, often requiring you to swap out physical SIM cards that are easily lost or damaged. This is where modern eSIM technology changes the game.
Before you begin the process of activating your travel eSIM for the Maldives, you must ensure your smartphone is compatible. Most modern smartphones released in the last few years support eSIM technology. This includes the majority of recent flagship models from major manufacturers. You can verify your device's compatibility by checking your phone’s cellular settings menu to see if there is an option to "Add eSIM" or "Add Cellular Plan."
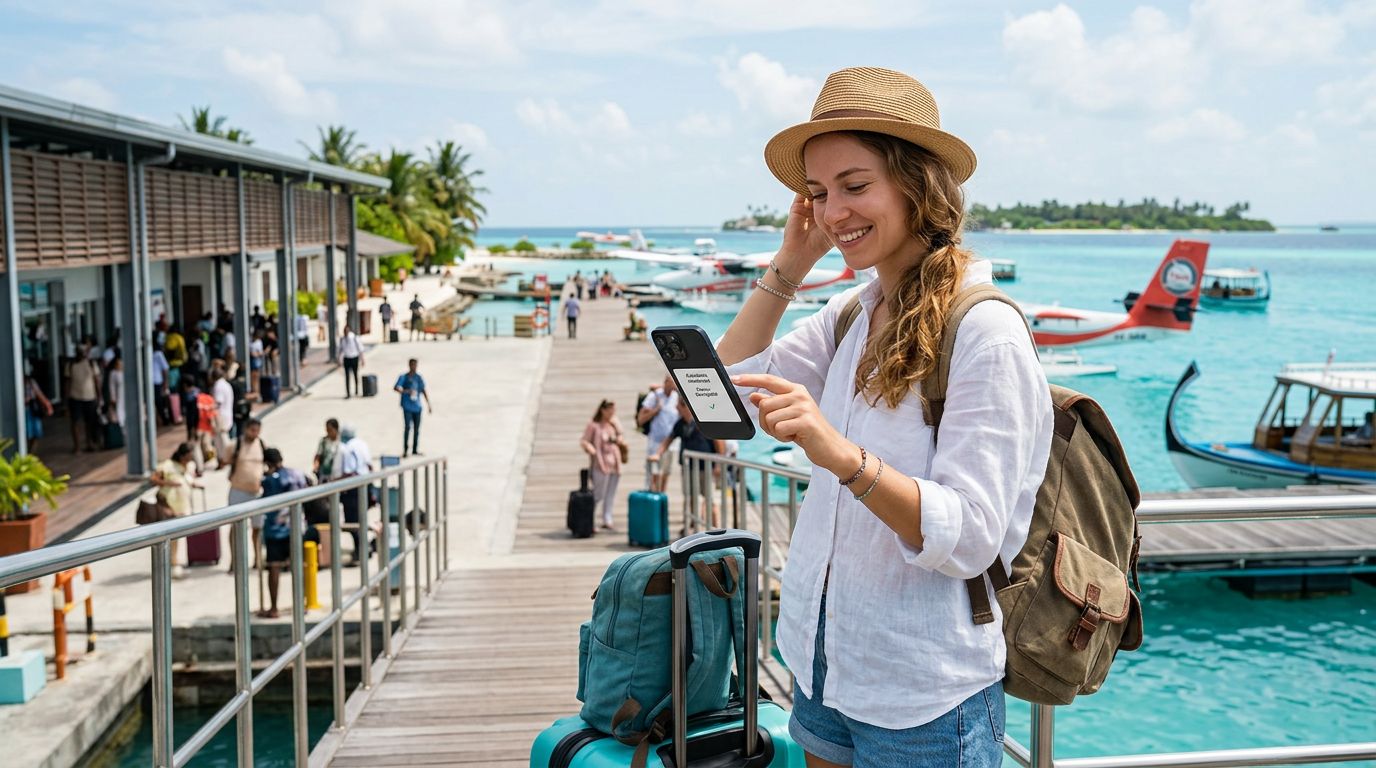
Additionally, your device must be carrier-unlocked. If you purchased your phone through a mobile carrier on a contract, it might be locked to their network, preventing you from using a third-party eSIM. If you are unsure about your device's status, contact your home carrier to request an unlock. Once you have confirmed that your phone is unlocked and eSIM-ready, you are prepared to set up your connection for your island getaway. Choosing a service like OneTapSIM allows you to manage your connectivity needs entirely through your device, ensuring you have a data plan ready to go the moment your seaplane touches down or your boat docks at your resort.
Step-by-Step Activation Process for iOS and Android
The beauty of using an eSIM is the streamlined setup. Once you have selected your data package for the Maldives, you will typically receive a QR code or an activation string via email. The installation process is designed to be intuitive, but following the correct sequence ensures a smooth transition to local data.
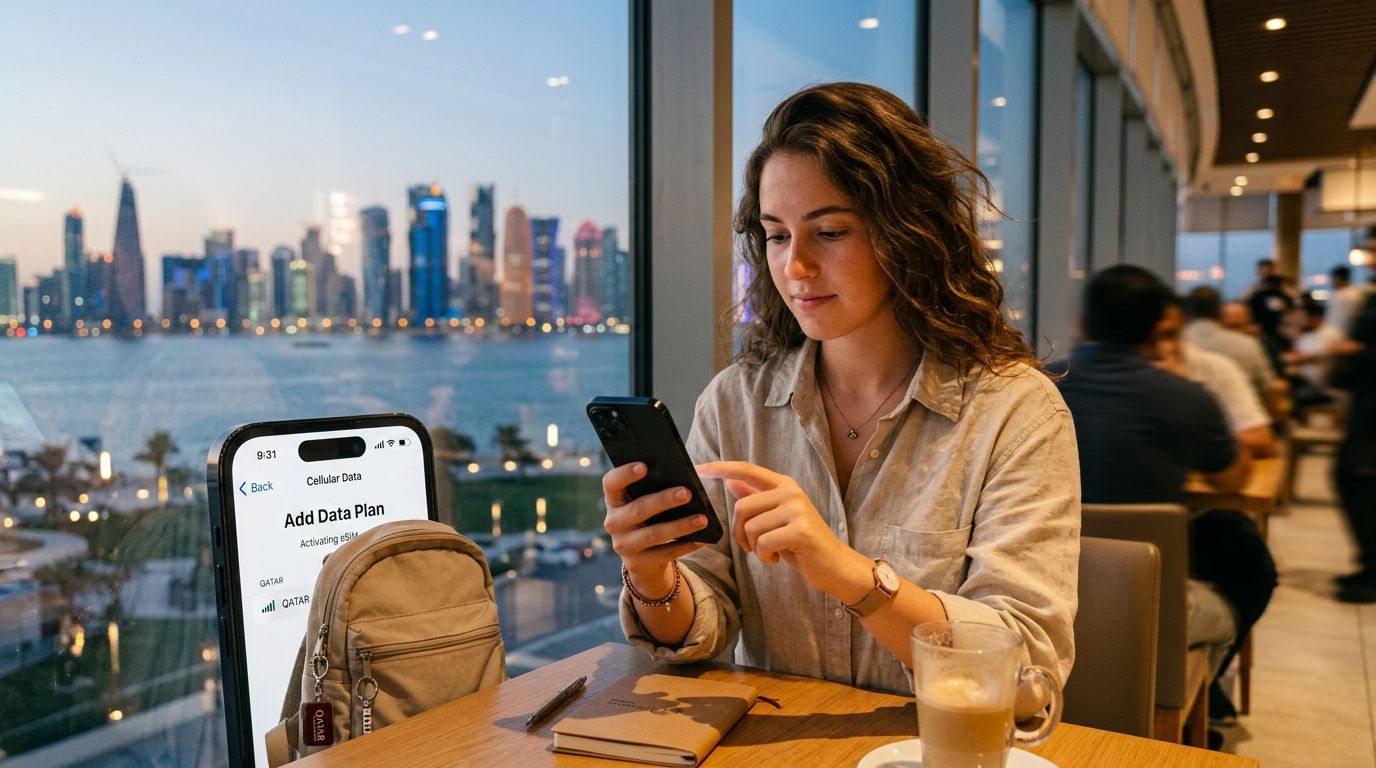
For iPhone users, the process is straightforward. Navigate to your Settings, select Cellular or Mobile Data, and tap on "Add eSIM." You will be prompted to scan the QR code provided by your eSIM provider. Your device will then download the necessary profile. Once the profile is installed, you can label the plan—for example, "Maldives Trip"—to keep it distinct from your primary home number. During the setup, your phone will ask which line you want to use for data. Ensure you select your new travel eSIM for cellular data while you are in the Maldives to avoid accidental roaming charges on your primary line.
For Android users, the steps are similar but may vary slightly depending on your specific manufacturer’s interface. Generally, you will go to Settings, then Network & Internet, and look for the SIMs or Mobile Network section. Tap the plus icon or "Add SIM" to begin the process. You can then scan the QR code provided. Once the eSIM profile is added, ensure that "Mobile Data" is toggled to your travel eSIM.
OneTapSIM simplifies this by providing clear, step-by-step instructions tailored to your device type. After the installation, the final step is to enable Data Roaming for the eSIM profile specifically. Do not be alarmed by the term "roaming"; when using a dedicated travel eSIM, this setting must be toggled on to allow the device to connect to the local partner network in the Maldives. Your home SIM should remain in your phone, but you should ensure that data roaming is turned off for that specific line to prevent your home carrier from charging you for international data usage.
Managing Your Connection and Troubleshooting Common Issues
Once you have arrived in the Maldives, your eSIM should automatically connect to a local network. If you find that your device is not picking up a signal immediately, a simple toggle of "Airplane Mode" usually forces the phone to scan for available towers. If that does not work, check your Cellular Data settings to ensure your travel eSIM is still selected as the primary source for data.
It is also important to understand that network coverage can vary depending on your location in the Maldives. While major resorts and the capital, Malé, have excellent connectivity, remote atolls might have varying signal strengths. Being aware of this helps you manage your expectations. If you are planning to travel between several islands, your phone will typically switch between local towers automatically, but if you encounter a persistent connection issue, you can manually select a network provider within your phone's cellular settings.
If you ever run out of data or require an extension to your stay, managing your plan digitally is far easier than searching for a physical store to buy a top-up card. By using a service like OneTapSIM, you can monitor your data usage directly from your device. If you notice you are nearing your limit, you can often purchase an additional data package or a new plan without needing to remove your eSIM profile.
Should you encounter technical difficulties, verify that your APN (Access Point Name) settings are correct. Most eSIMs configure these automatically upon installation, but occasionally, a manual entry is required. You can find these settings in your cellular data network menu. Keeping your phone's software updated to the latest version also ensures that your device handles eSIM profiles efficiently. By taking these small precautions, you can spend less time worrying about your connectivity and more time enjoying the turquoise waters and white sands of the Maldives. A reliable digital connection is the bridge between your remote island adventure and the rest of the world, and with a properly activated eSIM, you can stay connected with total confidence.
Kup eSIM na
Plany dla kierunków opisanych w tym poradniku, z natychmiastową dostawą QR.