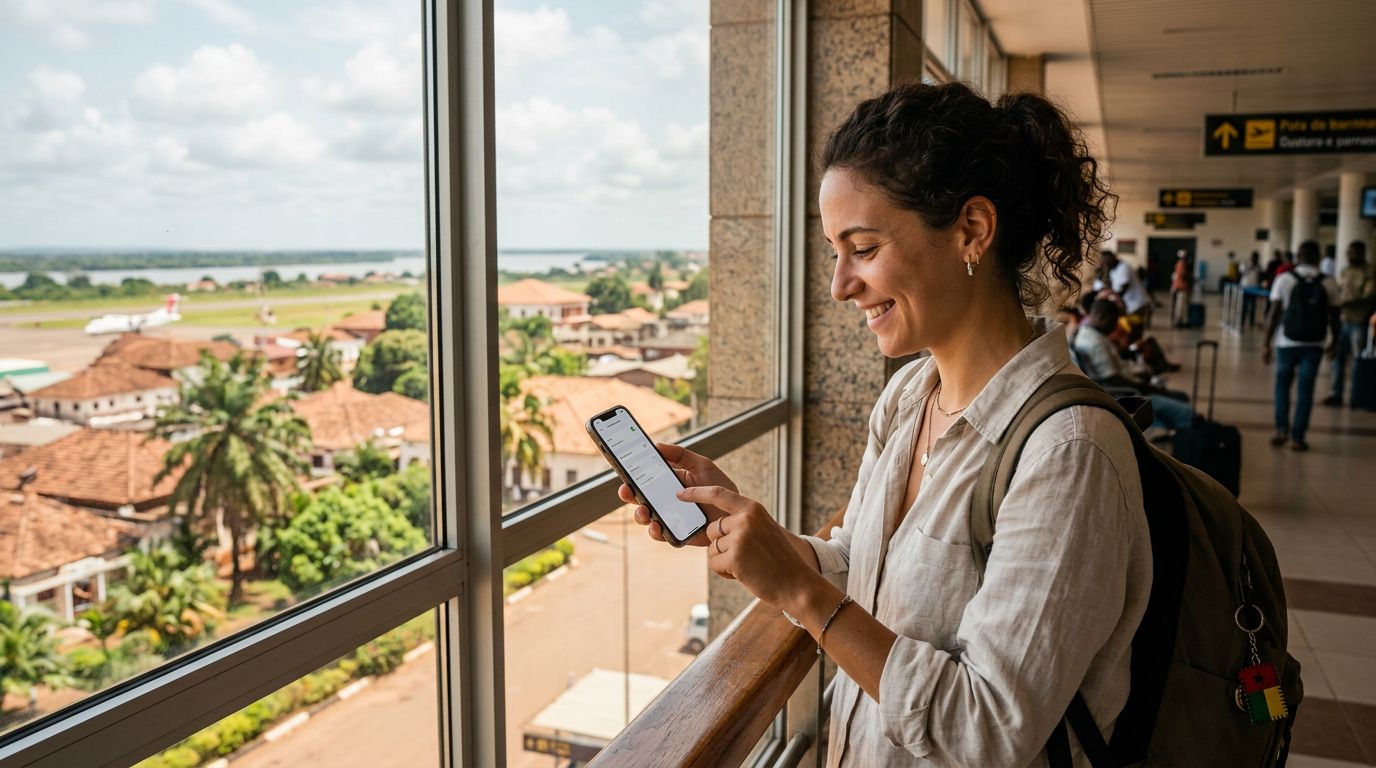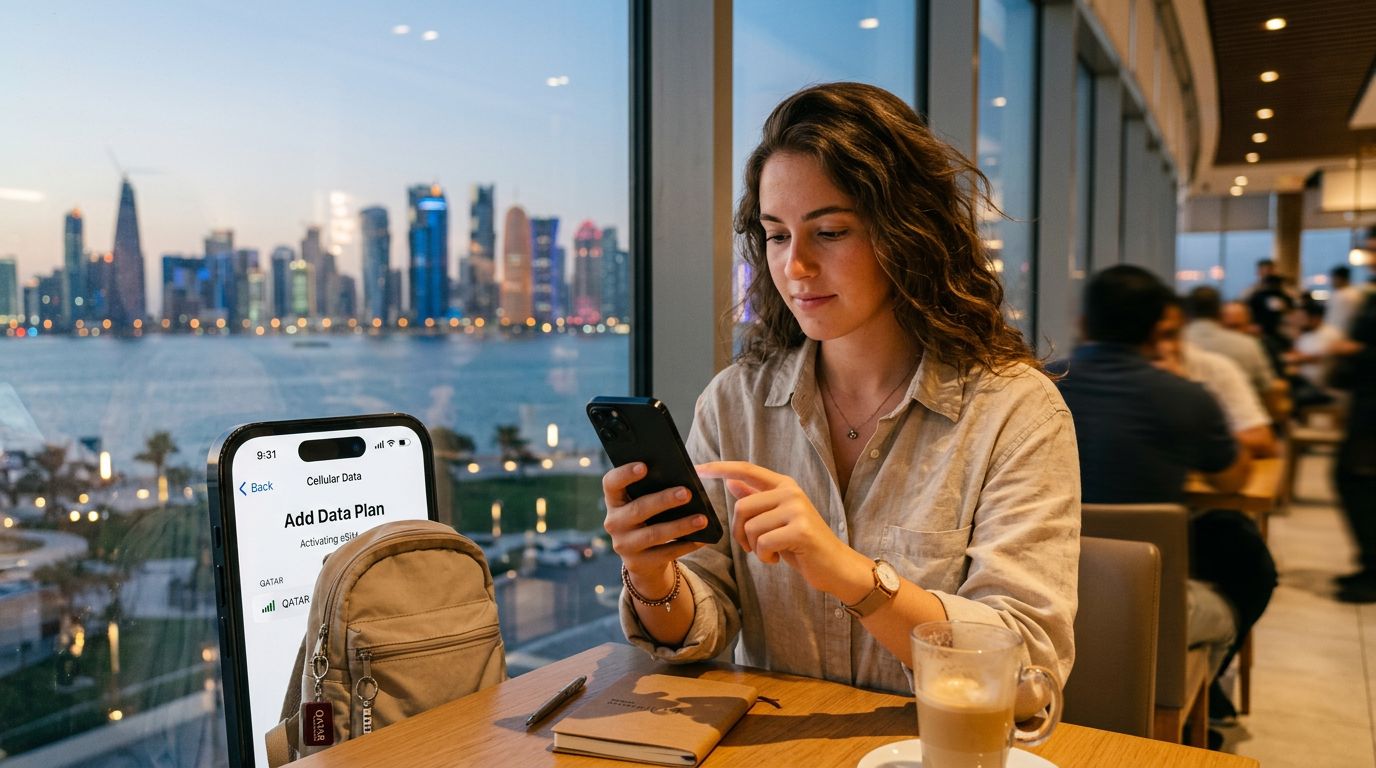
Traveling internationally used to mean hunting for local kiosks, swapping out tiny physical SIM cards, and worrying about losing your original chip. The introduction of eSIM technology has changed how we stay connected while abroad. An eSIM, or embedded SIM, is a digital version of a traditional SIM card that is built directly into your smartphone’s hardware. Because it is software-based, you can switch between carriers or add data plans without ever needing to open your phone’s SIM tray.
If you are new to this technology, the process might seem intimidating at first. However, mastering travel eSIM activation for beginners is a straightforward task that can save you significant time and stress during your next trip. By preparing your device before you leave home, you ensure that you have a data connection the moment your plane touches down.
Understanding Compatibility and Preparation
Before you begin the activation process, you must verify that your device supports eSIM technology. Most modern smartphones released in the last few years are compatible, but it is always best to double-check your device settings. If you are using an iPhone, you can typically find this information in your cellular settings menu. For Android users, checking your network or SIM manager settings will confirm if your device is eSIM-ready.
Another critical requirement is that your phone must be carrier-unlocked. Many phones purchased through a mobile service provider are locked to that specific network for a set period. If your phone is locked, it will not accept an eSIM from a different provider. If you are unsure about your device status, contact your home carrier to request an unlock before you travel.
Once you confirm your device is compatible and unlocked, you should ensure your phone is updated to the latest operating system. Software updates often include important security patches and improvements to how the device handles cellular settings. Having an up-to-date phone minimizes the risk of technical glitches during the installation process.
When you choose a service provider like OneTapSIM, you are essentially purchasing a digital profile that tells your phone how to connect to local networks in your destination country. Because this is a digital product, you do not need to wait for a physical package to arrive. You can purchase your plan well in advance, allowing you to have your connectivity sorted before you even pack your bags.
The Step-by-Step Activation Process
The actual installation of an eSIM is a simple procedure that usually takes only a few minutes. While the specific steps can vary slightly depending on your phone model, the general workflow remains consistent.
First, you will receive an email containing a QR code or a manual activation code from your provider. It is highly recommended to set up your eSIM while you are still at home and connected to a reliable Wi-Fi network. This ensures that the profile downloads correctly without any interruptions.
On an iPhone, go to your Settings menu and tap on "Cellular" or "Mobile Data." From there, select "Add eSIM." You will typically be given the option to scan a QR code. Point your camera at the QR code provided by your service provider, and your phone will automatically begin the configuration process. Once the profile is added, you can label it—for example, "Travel Plan"—to keep it separate from your primary number.
For Android devices, the path is generally through "Settings," then "Network & Internet," and finally "SIMs" or "SIM Manager." Look for an option that says "Add SIM" or "Download an eSIM." Similar to the iPhone process, you will scan the provided QR code, and the phone will handle the rest of the installation.
One common question for beginners is whether the eSIM will immediately take over their phone. The answer is no. After installation, you can keep your primary SIM card active for calls and texts while designating your new eSIM as the primary source for cellular data. This configuration allows you to stay reachable on your home number while enjoying affordable data abroad through your travel plan.
Managing Your Connection While Abroad
Once you arrive at your destination, you need to ensure the eSIM is active and ready to use. Your phone will usually detect the new network profile automatically. You may need to toggle your "Cellular Data" settings to ensure the phone is pulling data from the correct SIM.
If you find that you do not have an immediate connection, check your "Data Roaming" settings. For most travel eSIMs, data roaming must be toggled "On" for the specific travel plan. Do not worry; this does not mean you will be charged roaming fees by your home carrier. Because your data is being routed through the local network provided by your eSIM, the "roaming" setting is simply the mechanism that allows the phone to connect to a partner network in that country.
If you encounter any issues, the first step is to toggle "Airplane Mode" on and off. This forces the device to re-scan for available local towers. If that does not work, verify that your eSIM is toggled to the "On" position in your SIM manager settings.
OneTapSIM provides a seamless experience by ensuring that the connection profiles are pre-configured for the regions you are visiting. If you are traveling to multiple countries, you may want to look for regional plans that cover an entire continent, which saves you from having to install new plans every time you cross a border.
Finally, remember to monitor your data usage. Most smartphones have a built-in data tracker that shows you exactly how much information you have consumed. If you find yourself running low, you can often purchase a top-up or a secondary plan through your provider’s portal. By following these steps and preparing in advance, you can enjoy a reliable connection and focus on your trip rather than worrying about finding a Wi-Fi hotspot. Mastering travel eSIM activation for beginners is the first step toward a more efficient and stress-free way to explore the world.
Obtenez une eSIM pour
Des forfaits pour les destinations de ce guide, livrés instantanément par QR.