Traveling internationally often leads to the same logistical headache: how to stay connected without incurring massive roaming charges from your home carrier. For many modern smartphone users, the solution lies in Dual SIM functionality. By using a physical SIM card alongside an eSIM, you can maintain your primary phone number for calls and texts while using a travel eSIM for high-speed data. If you have been wondering how to activate eSIM on dual sim devices, this guide will walk you through the process, ensuring you stay connected wherever your journey takes you.
Understanding Dual SIM Functionality
Dual SIM technology allows your smartphone to hold two different service plans simultaneously. In the past, this required a device with two physical SIM card slots. Today, most modern smartphones achieve this by combining one physical SIM slot with an eSIM (embedded SIM) chip. An eSIM is a digital version of a traditional SIM card that is downloaded directly to your phone’s internal hardware.
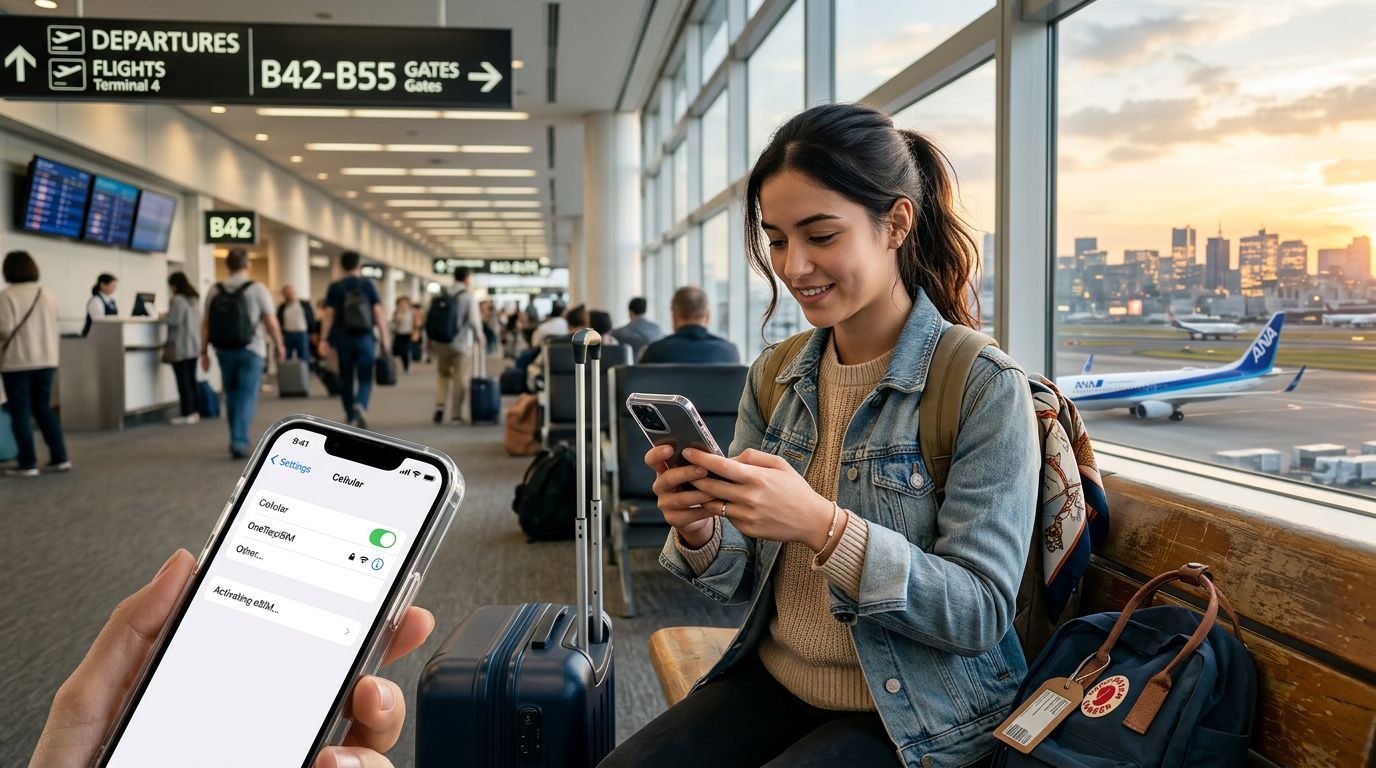
When you use a travel eSIM, such as those provided by OneTapSIM, you are essentially adding a second line to your device. This is particularly useful for travelers because it allows you to keep your home SIM active for essential SMS verification or emergency calls while designating the eSIM as your primary source for mobile data. By offloading your data usage to a local or regional eSIM plan, you avoid the high costs associated with international roaming on your home network.
Before you begin the activation process, ensure your device is carrier-unlocked. If your phone is locked to a specific network provider, it may restrict your ability to add a secondary SIM from a different carrier. You can verify this in your phone’s settings under the network or cellular menu. If your device is unlocked, you are ready to proceed with the setup.
Step-by-Step Activation for iOS Devices
Apple devices have streamlined the process of managing multiple SIMs, making it relatively straightforward to switch between them. To get started, ensure you have a stable Wi-Fi connection, as you will need to download the eSIM profile to your device.
- Open the Settings app on your iPhone.
- Select "Cellular" or "Mobile Data."
- Tap "Add eSIM."
- If you have a QR code provided by your eSIM service, select "Use QR Code" and scan it using your camera. If you are using an app-based installation, follow the prompts provided by your service provider.
- Once the eSIM is downloaded, you will be prompted to label your SIMs. It is helpful to label your primary SIM as "Personal" or "Home" and your travel eSIM as "Travel" or "OneTapSIM." This makes it easier to manage which line is being used for specific tasks.
- Choose your Default Voice Line. This is the number that will be used for standard calls and SMS. Usually, you will want to keep your home SIM as the default voice line.
- Select your Cellular Data line. This is the most important step for travelers. Select your travel eSIM for data. Ensure that "Allow Cellular Data Switching" is toggled off if you want to strictly prevent your home SIM from using data while abroad.
Once these steps are complete, your iPhone will show two signal bars at the top of the control center. You can toggle between these lines at any time in the Cellular settings menu.
Configuring Android Devices for Dual SIM Use
Android devices vary slightly depending on the manufacturer, but the core logic remains consistent. Whether you are using a Google Pixel or another Android-based smartphone, the activation process generally follows a standard path within the settings menu.
- Navigate to Settings on your device.
- Select "Network & Internet" or "Connections."
- Look for "SIMs" or "SIM Card Manager."
- Tap the plus icon or "Add eSIM" to initiate the setup.
- Follow the on-screen instructions to scan the QR code or enter the activation details manually.
- After the eSIM profile is added, you will see a menu where you can manage your SIM preferences. You can designate one SIM for calls, one for SMS, and one for mobile data.
- Assign your travel eSIM as the primary data source. Similar to iOS, check your settings to ensure that your home SIM is not configured to use data roaming, as this is the primary cause of unexpected charges.
If you are using a service like OneTapSIM, the installation process is designed to be user-friendly. Once the eSIM is active, you may need to adjust your Access Point Name (APN) settings. While most modern devices configure this automatically, sometimes a quick manual entry is required to ensure the data connection is stable. You can find these details in the setup guide provided by your service provider.
Managing Your Data Usage While Traveling
Once you have successfully activated your eSIM, the final step is managing how your phone uses these two connections. Maintaining a healthy connection requires a bit of maintenance while you are on the move.
Always keep an eye on your status bar. Most phones will display two sets of signal indicators. If you notice that your data is not working, double-check that the "Mobile Data" setting is still pointed toward your travel eSIM. Sometimes, system updates or toggling Airplane Mode can reset your default preferences, so it is a good habit to check these settings whenever you land in a new country.
Additionally, consider disabling "Wi-Fi Assist" or "Data Switching" features if you are on a limited data plan. These features are designed to automatically switch to cellular data if your Wi-Fi connection is poor, but they can inadvertently consume your travel data if you are not careful. By keeping your travel eSIM as the dedicated data source and your home SIM restricted to voice and SMS, you can enjoy seamless connectivity without the stress of roaming fees.
Using an eSIM is one of the most efficient ways to manage mobile connectivity for international travel. By following these steps, you can ensure your device is ready to handle both your home professional life and your international travel needs without conflict. Whether you are navigating a new city or working remotely from a cafe, having a reliable, secondary data line ensures you are never truly disconnected.