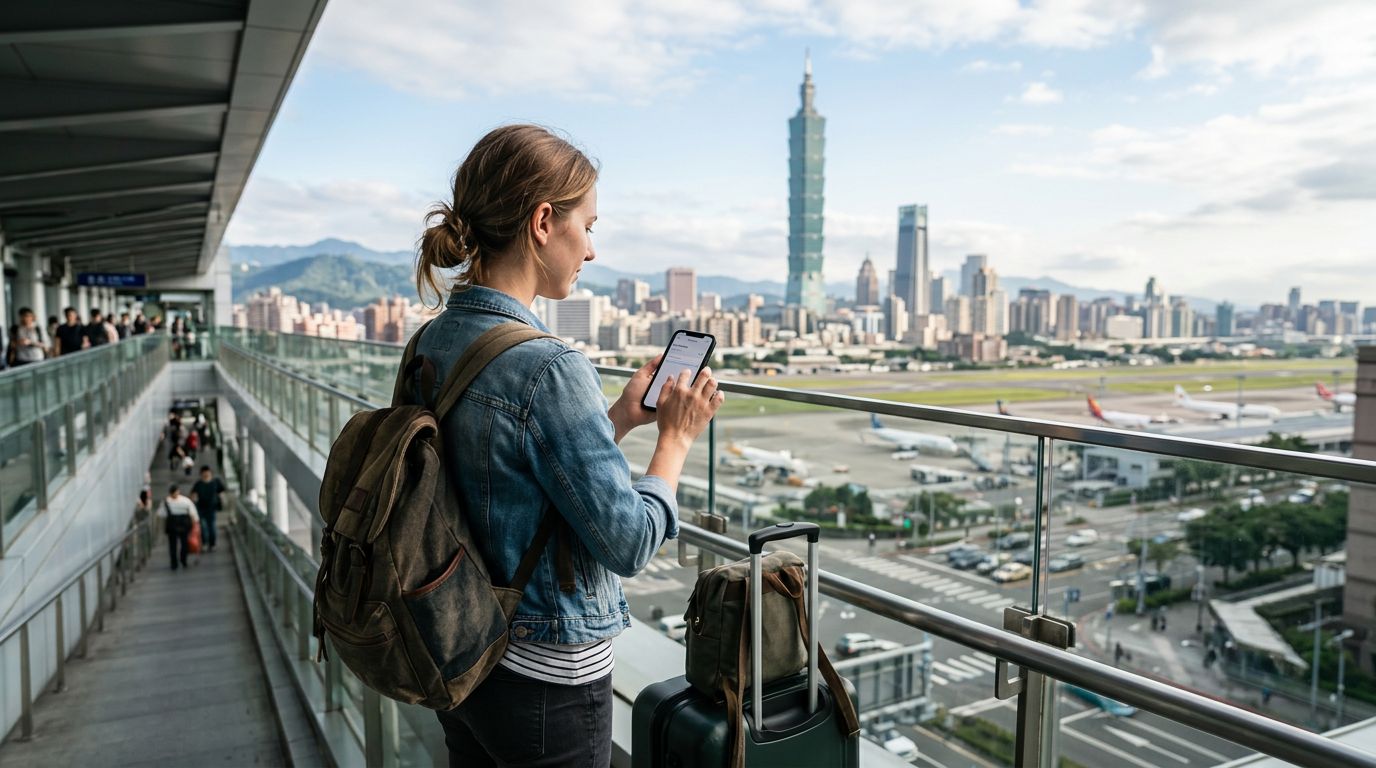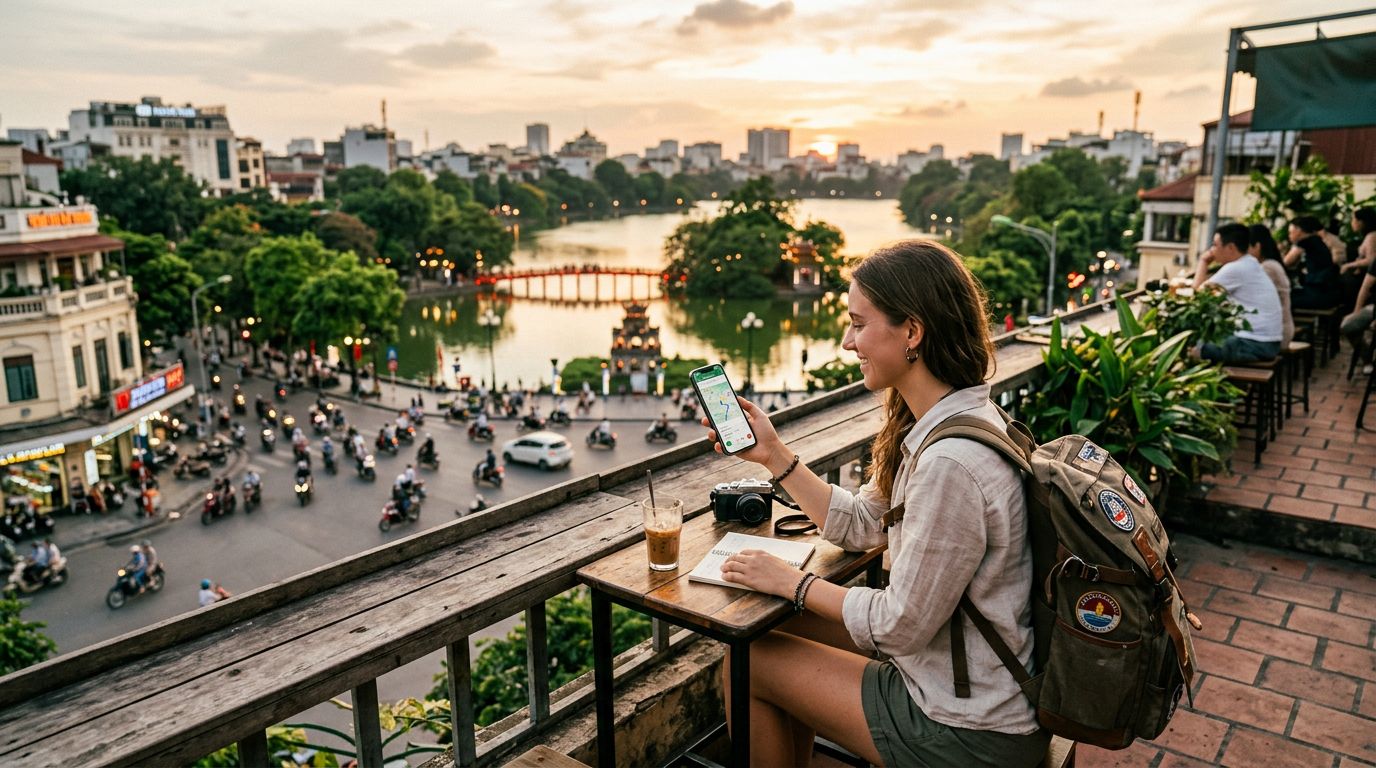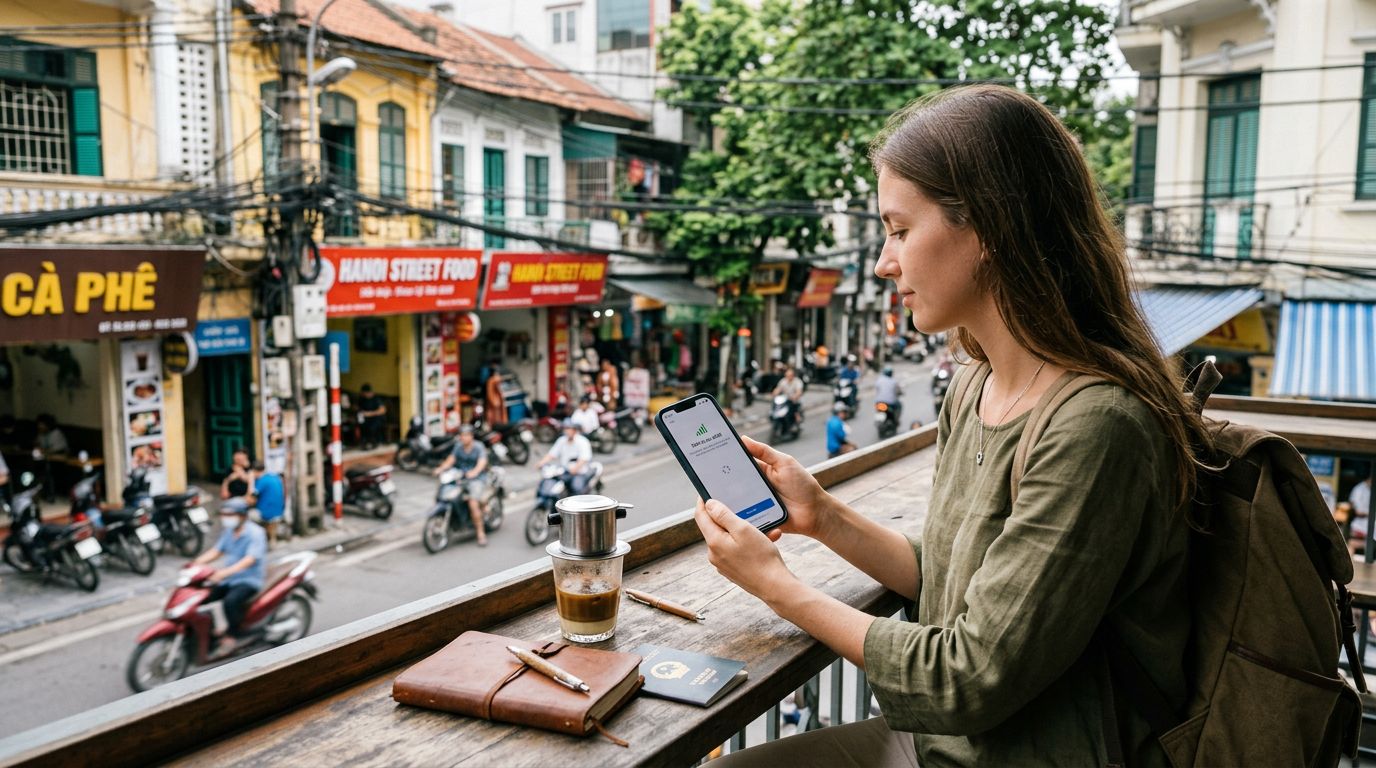
Vietnam is a breathtaking destination, offering everything from the bustling, neon-lit streets of Ho Chi Minh City to the serene, emerald waters of Ha Long Bay. As you plan your itinerary, staying connected is essential for using ride-sharing apps, translating local menus, and finding your way through labyrinthine street markets. While physical SIM cards were once the standard, modern travelers are increasingly turning to eSIM technology for convenience and reliability. If you are wondering how to activate eSIM in Vietnam, this guide will walk you through the process step-by-step.
Understanding the eSIM Advantage for Vietnam Travel
An eSIM, or embedded SIM, is a digital version of the traditional plastic card you have used for years. Because it is built directly into the hardware of your smartphone, you do not need to physically swap out cards or worry about losing your original home SIM. This is particularly beneficial when traveling to a country like Vietnam, where you might want to switch between local data plans or keep your home number active for important SMS messages while using a secondary data line.
By opting for an eSIM, you eliminate the need to visit a mobile kiosk at the airport or hunt for a reputable vendor in the city center. You can set up your connection before your plane even touches down at Tan Son Nhat or Noi Bai International Airport. This means that as soon as you land, you can call a ride, check your map, or message your accommodation host without searching for public Wi-Fi. OneTapSIM offers a streamlined way to manage these digital profiles, ensuring that your transition from your home network to the local Vietnamese network is as smooth as possible.
How to Activate eSIM in Vietnam: Step-by-Step Installation
The process of activating your eSIM is generally straightforward, provided your device is carrier-unlocked and supports eSIM technology. Most modern smartphones released in the last few years are compatible. Before purchasing, verify that your phone is not locked to a specific carrier, as a locked device will prevent you from adding an international data plan.
To begin the installation, you will typically receive a QR code or an activation string after purchasing your plan. For iPhone users, navigate to your Settings, select Cellular or Mobile Data, and tap "Add eSIM." You will have the option to scan a QR code provided by your service provider. Once scanned, your phone will communicate with the network to register the profile.
For Android users, the path is usually found under Settings, then Network & Internet or Connections, followed by SIM Manager or a similar entry. Look for the option to add an eSIM or download a SIM. Follow the on-screen prompts to scan your code. Once the profile is added, you may need to toggle it on in your settings. It is important to remember that the actual activation often triggers once you reach Vietnam and the device detects the local network towers. If you encounter any issues during this phase, ensure that your "Data Roaming" is toggled on for the eSIM profile, as this is often required for the local data connection to function correctly.
Managing Connectivity and Troubleshooting Common Issues
Once you have successfully activated your eSIM, you should verify your settings to ensure you are using the correct data line. Most phones allow you to label your SIM cards. It is a good practice to rename your primary SIM to "Home" and your travel eSIM to "Vietnam." This makes it much easier to manage which line is being used for data and which is being used for calls.
If you find that your data is not working immediately upon arrival, do not panic. First, check that your Vietnam eSIM is set as the "Primary" or "Default" line for cellular data. Sometimes, the phone may default back to your home SIM, which could result in roaming charges or a lack of connectivity. If your data still does not connect, try toggling "Airplane Mode" on for ten seconds and then off again. This forces the device to re-scan for available local networks.
Another common point of confusion involves APN settings. While most modern eSIM providers, including OneTapSIM, configure these automatically, some devices may require manual input. If your internet is not working, check the installation instructions provided with your eSIM purchase to see if there are specific APN settings you need to enter in your cellular data network menu.
Finally, keep in mind that your battery consumption might increase slightly when using dual-SIM mode, as the phone is maintaining two active connections simultaneously. To conserve power, you can temporarily turn off your home SIM if you do not expect any urgent calls or texts. By keeping your software updated and following these simple configuration steps, you will enjoy seamless high-speed internet throughout your Vietnamese adventure. Whether you are navigating the historic quarters of Hanoi or relaxing on a beach in Da Nang, having a reliable digital connection ensures that your focus remains on the experience rather than the logistics of your mobile service.
Get an eSIM for
Plans for the destinations covered in this guide, with instant QR delivery.