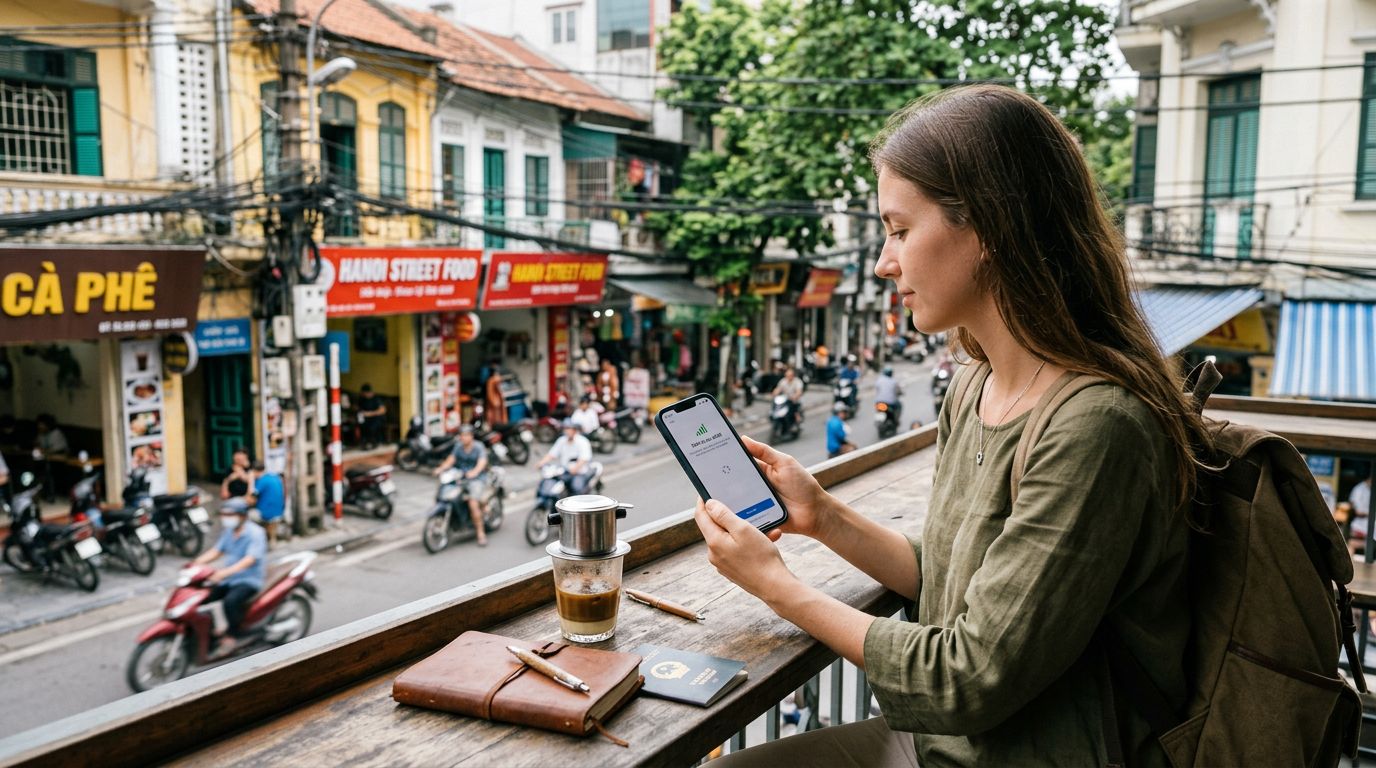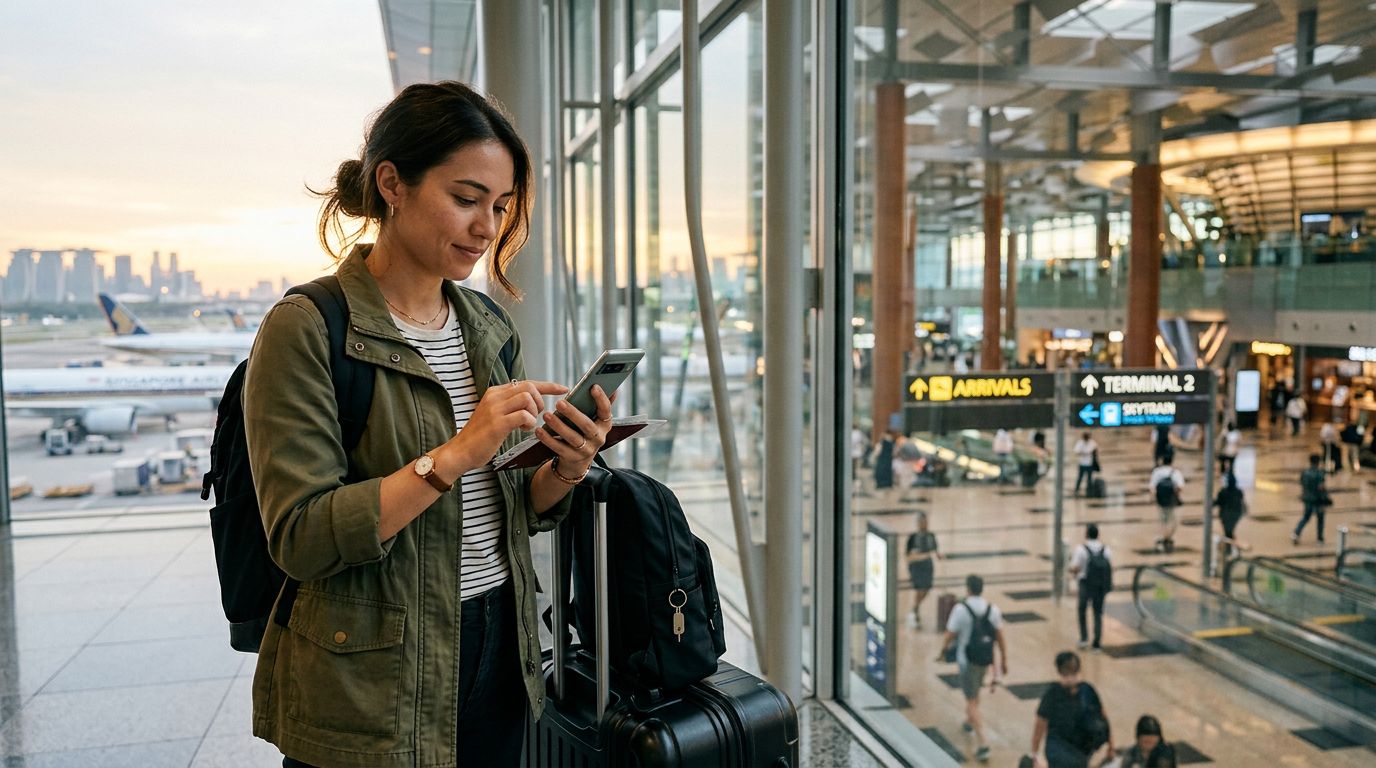
Singapore is a vibrant hub for travelers, offering a seamless blend of modern architecture, lush gardens, and diverse culinary experiences. Whether you are visiting for a short business trip or a week-long vacation, staying connected is essential for navigating the city, booking transportation, and sharing your experiences. For modern travelers, the most efficient way to stay online is by using an eSIM. If you are wondering how to activate eSIM in Singapore, this guide will walk you through the process, ensuring you are connected the moment you touch down at Changi Airport.
Understanding eSIM Technology and Compatibility
An eSIM, or embedded SIM, is a digital version of the traditional physical SIM card. Instead of inserting a small plastic chip into your phone, you download a digital profile that connects you to a local mobile network. This technology is built directly into the hardware of modern smartphones, making it a convenient alternative to searching for local kiosks or swapping out your home SIM card, which carries the risk of loss or damage.
Before you begin the activation process, you must ensure your device is compatible. Most flagship smartphones released within the last few years support eSIM technology. To verify your device’s capability, you can check the settings menu on your phone or consult the official support pages for your device manufacturer, such as the resources provided by Apple or Google.
It is also crucial to ensure that your phone is carrier-unlocked. If your device is locked to a specific home carrier, it may restrict the use of third-party eSIM profiles. Contact your home service provider before your trip to confirm that your device is unlocked, allowing you to use a travel eSIM like OneTapSIM without any technical hurdles. Using a travel-specific eSIM allows you to maintain your home number for essential calls or texts while using a separate data plan for your internet needs in Singapore.
Step-by-Step Activation Process
The process of activating an eSIM is designed to be user-friendly. Once you have selected your data plan, you will typically receive a QR code via email or through the provider's app. This QR code acts as the key to downloading your mobile profile.
To activate your eSIM on an iPhone, navigate to the Settings app, select Cellular or Mobile Data, and tap on "Add eSIM." You will have the option to use a QR code, which you can scan using your camera. If you are using an Android device, the steps are similar: go to Settings, select Network & Internet, then tap on SIMs or Mobile Network, and choose the option to add an eSIM. Follow the on-screen prompts to scan the QR code provided by your service provider.
Once the profile is downloaded, your phone will prompt you to label the new connection. You might name it "Singapore" or "Travel" to distinguish it from your primary line. During the setup, you will be asked to choose which line to use for cellular data. Ensure that you select your new eSIM for data usage to avoid roaming charges on your home plan.
OneTapSIM simplifies this experience by offering clear, step-by-step instructions tailored to your specific device. By setting up your eSIM before you depart or while you are still connected to a stable Wi-Fi network at the airport, you ensure that your internet connection activates as soon as you land.
Managing Your Connection and Troubleshooting
After successfully activating your eSIM, your phone should automatically detect the local Singaporean network. If you do not see a signal immediately upon arrival, ensure that "Data Roaming" is toggled on for your eSIM profile. While "roaming" sounds like it might incur extra fees, it is the standard mechanism that allows your eSIM to connect to the local partner network in Singapore. Because you are using a pre-purchased data plan, this setting simply allows the eSIM to function correctly.
If you encounter issues, such as a lack of internet connectivity, start by toggling Airplane Mode on and off. This forces the device to search for the nearest cell tower again. If the problem persists, check your APN (Access Point Name) settings. Most modern eSIMs configure these settings automatically, but occasionally, a manual update is required. You can find the correct APN settings in the installation guide provided by your eSIM carrier.
Another common point of confusion is managing two active SIMs. If you choose to keep your home SIM active to receive SMS messages, ensure that your phone is set to use the eSIM for "Cellular Data" and your home SIM for "Voice" or "Default Voice Line." This configuration prevents your home carrier from triggering expensive data roaming charges while keeping you reachable for important texts.
It is also wise to monitor your data usage throughout your trip. Most smartphones have a built-in data usage tracker in the settings menu. If you find yourself running low on data, some providers allow you to purchase a top-up or a secondary plan through their website or app. By planning ahead and understanding how to manage your device settings, you can enjoy a stress-free trip to Singapore, knowing that your navigation, social media, and communication needs are fully covered. The flexibility of using a service like OneTapSIM means you can focus on exploring the Gardens by the Bay or finding the best hawker centers, rather than worrying about connectivity.