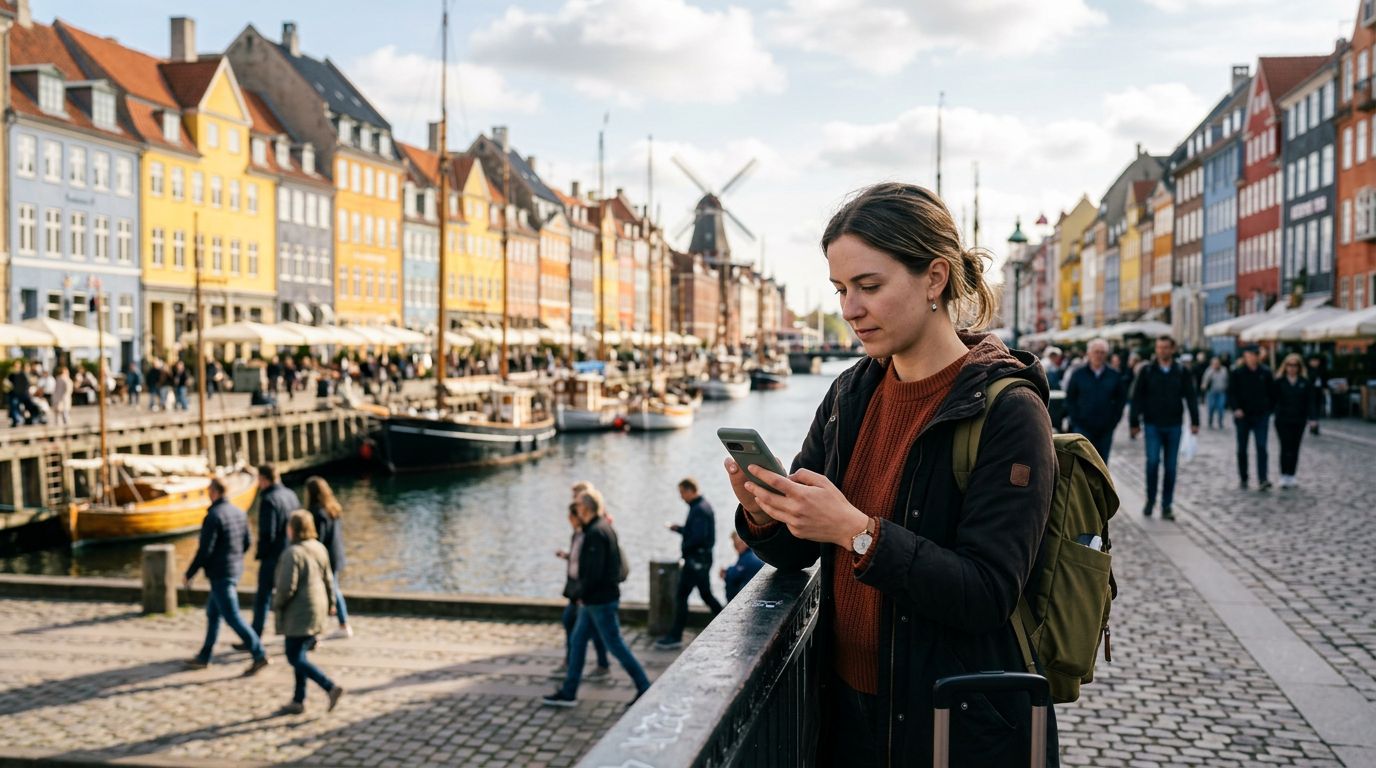
Planning Your Connectivity for Denmark
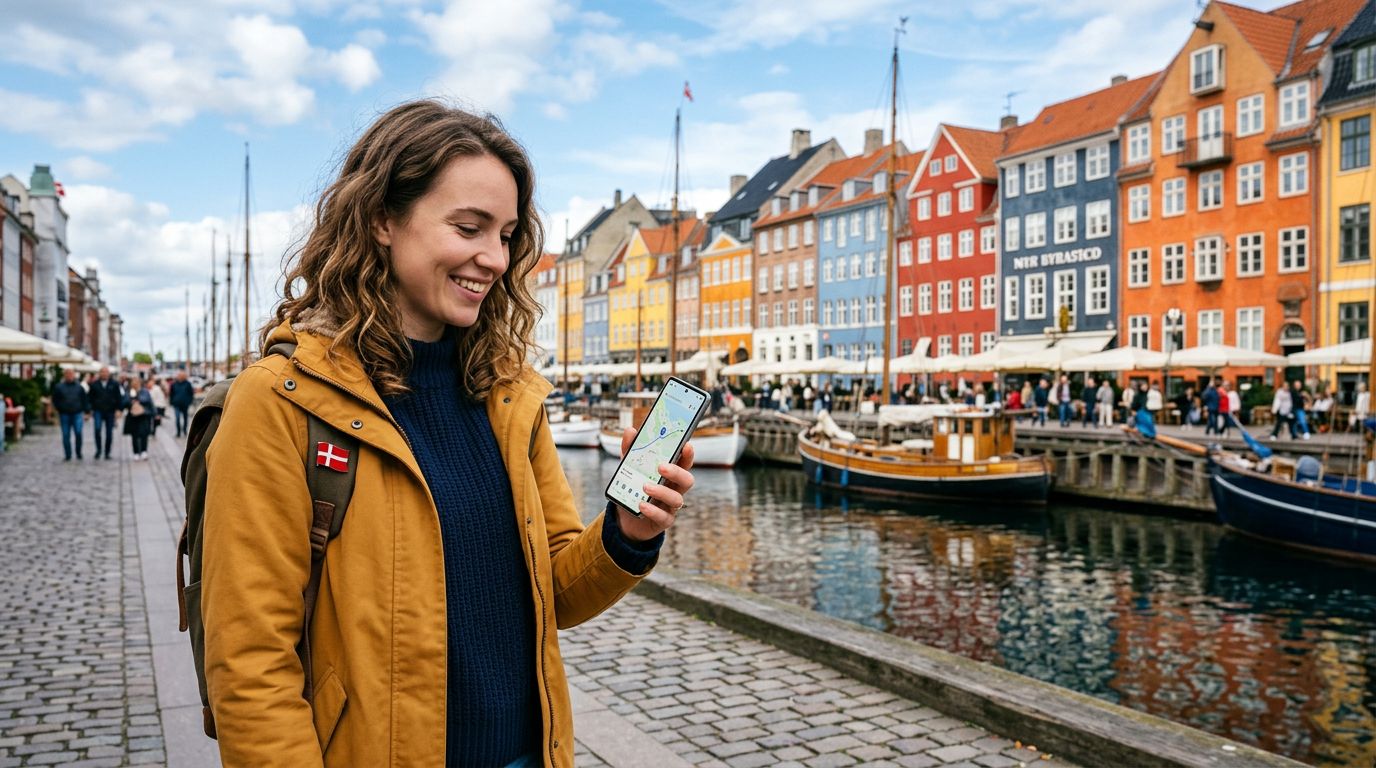
Denmark is a country that seamlessly blends historic charm with cutting-edge digital infrastructure. From the colorful canals of Copenhagen to the windswept beaches of Jutland, staying connected is essential for accessing maps, translation tools, and ride-sharing services. Many travelers find that their home mobile carrier charges exorbitant roaming fees, which can quickly turn a dream vacation into a financial burden. This is where a dual SIM setup becomes your most valuable travel companion.
By using a dual SIM configuration, you keep your primary phone number active for essential two-factor authentication or urgent calls from home, while simultaneously utilizing a local or regional data plan for your internet needs. This approach ensures you are never caught without a connection while wandering through the historic streets of Odense or searching for the best local bakery in Aarhus.
OneTapSIM provides a streamlined way to manage this connectivity. Instead of hunting for physical SIM kiosks at the airport or dealing with tiny plastic cards that are easy to lose, you can install a digital eSIM profile before you even board your flight. This allows your phone to switch to your local data plan the moment you touch down in Denmark, keeping your primary SIM in standby mode to avoid unexpected roaming charges.
Configuring Your Dual SIM Setup
Setting up a dual SIM configuration on a modern smartphone is a straightforward process, provided you understand how your device handles multiple active networks. Most modern smartphones support eSIM technology, which allows you to store multiple carrier profiles on a single device. When preparing for your Denmark trip, the first step is to ensure your phone is carrier-unlocked. If your device is locked to your home provider, you will not be able to use a secondary SIM, regardless of the technology.
Once you have confirmed your device is unlocked, you can add your OneTapSIM profile. This is usually done by scanning a QR code or entering details provided by the service. After the profile is installed, you will see two distinct networks in your cellular settings. The key to a successful experience is properly labeling these SIMs. Rename your primary SIM to "Home" and your travel SIM to "Denmark" or "Travel." This prevents confusion when you are adjusting settings on the go.
In your cellular settings, you should designate your primary SIM for voice and SMS if you need to receive important texts from home. Simultaneously, set your travel eSIM as the primary source for cellular data. This configuration allows you to browse the web, use navigation apps, and upload photos to social media using your travel data allowance, while your home number remains ready for any emergency calls. Remember to turn off "Data Roaming" for your home SIM to ensure your phone does not accidentally connect to a Danish tower using your home provider’s expensive roaming rates.
Managing Data Usage and Connectivity Tips
Once you arrive in Denmark, your phone should automatically connect to a local network using your travel eSIM. If it does not, a quick toggle of "Airplane Mode" usually forces the device to scan for available towers. Because Denmark has excellent 4G and 5G coverage throughout the country, you will likely experience fast and reliable speeds, even in more rural areas.
To get the most out of your dual SIM setup for a Denmark trip, keep an eye on your data consumption. While OneTapSIM offers generous data packages, it is good practice to manage your phone’s background data usage. You can do this by going into your device’s cellular settings and restricting background data for apps that do not need to be constantly updated. For example, you might want to allow maps and messaging apps to use data, while restricting cloud photo backups until you are connected to a hotel Wi-Fi network.
Another advantage of using an eSIM for your data needs is the ability to monitor your usage in real-time. If you find yourself running low on data, you can often add more capacity directly through the provider’s interface without needing to replace a physical card. This flexibility is vital if you plan on using your phone for heavy tasks like video calling family back home or streaming music while traveling between Danish cities by train.
When you finish your trip, managing your dual SIM setup is just as simple as setting it up. You can keep the eSIM profile on your phone for future visits or delete it entirely if you prefer a clean device. Because the eSIM is purely digital, there is no risk of damaging your phone’s internal hardware or losing a physical card. By taking the time to configure your phone correctly before departure, you ensure that your focus remains on enjoying the sights, sounds, and culture of Denmark rather than worrying about your mobile connectivity. Whether you are visiting the iconic Little Mermaid statue or exploring the Viking Ship Museum, having a reliable dual SIM setup ensures you stay connected on your own terms.
Get an eSIM for
Plans for the destinations covered in this guide, with instant QR delivery.