Preparing Your Device for Connectivity in Guinea-Bissau
Traveling to West Africa requires careful planning, especially when it comes to maintaining a reliable internet connection. Guinea-Bissau offers a unique landscape of archipelagos and vibrant culture, but staying connected can be challenging if you rely solely on traditional roaming services. Using a travel eSIM is the most efficient way to ensure your phone remains functional from the moment you land. Before you begin the process of activating travel eSIM for Guinea-Bissau, you must ensure your smartphone is compatible with eSIM technology.
Most modern smartphones manufactured in the last few years support eSIM functionality. To verify this, check your device settings under the cellular or mobile data menu. If you see an option to "Add eSIM" or "Add Cellular Plan," your device is ready. Furthermore, your phone must be carrier-unlocked. If you purchased your phone through a mobile network provider, it might be locked to their service. Contact your provider before your trip to request an unlock, as this is a prerequisite for using any third-party eSIM service, including OneTapSIM.
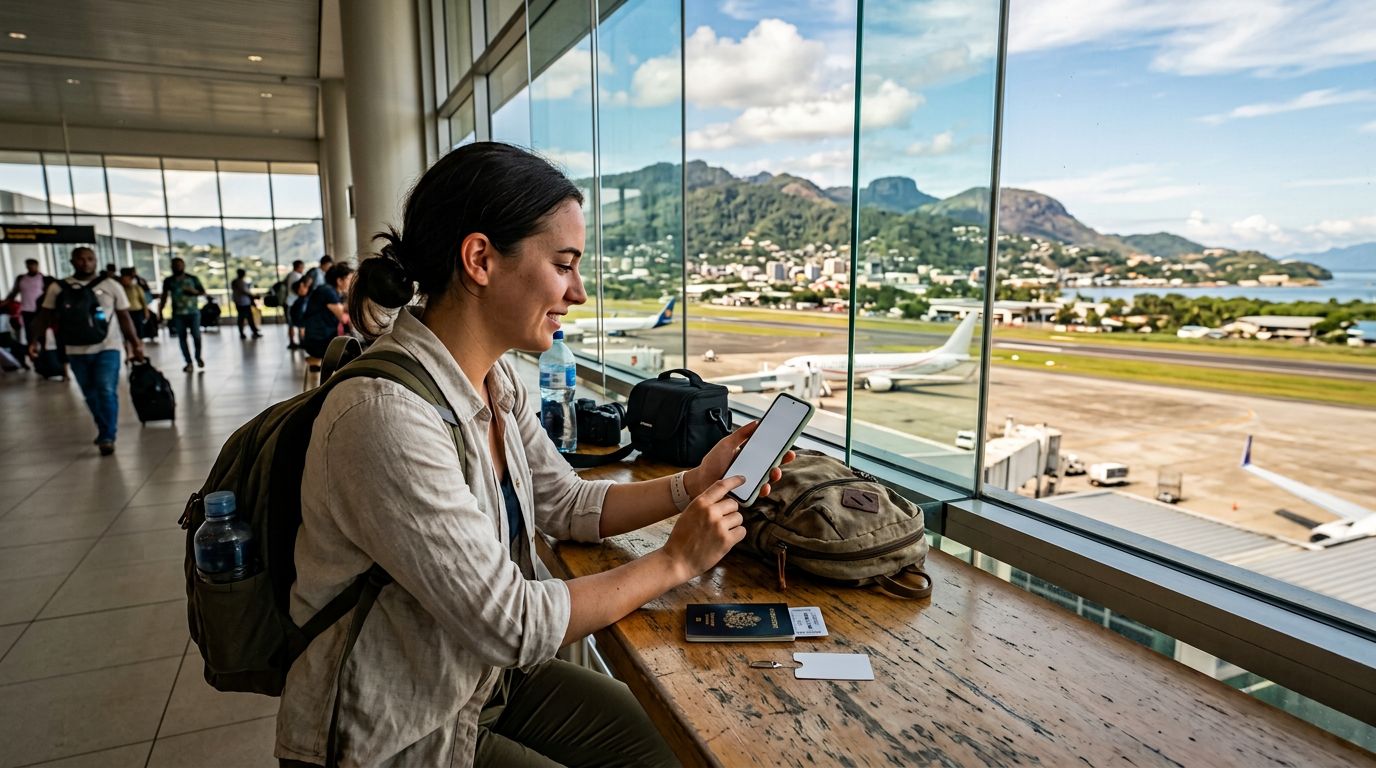
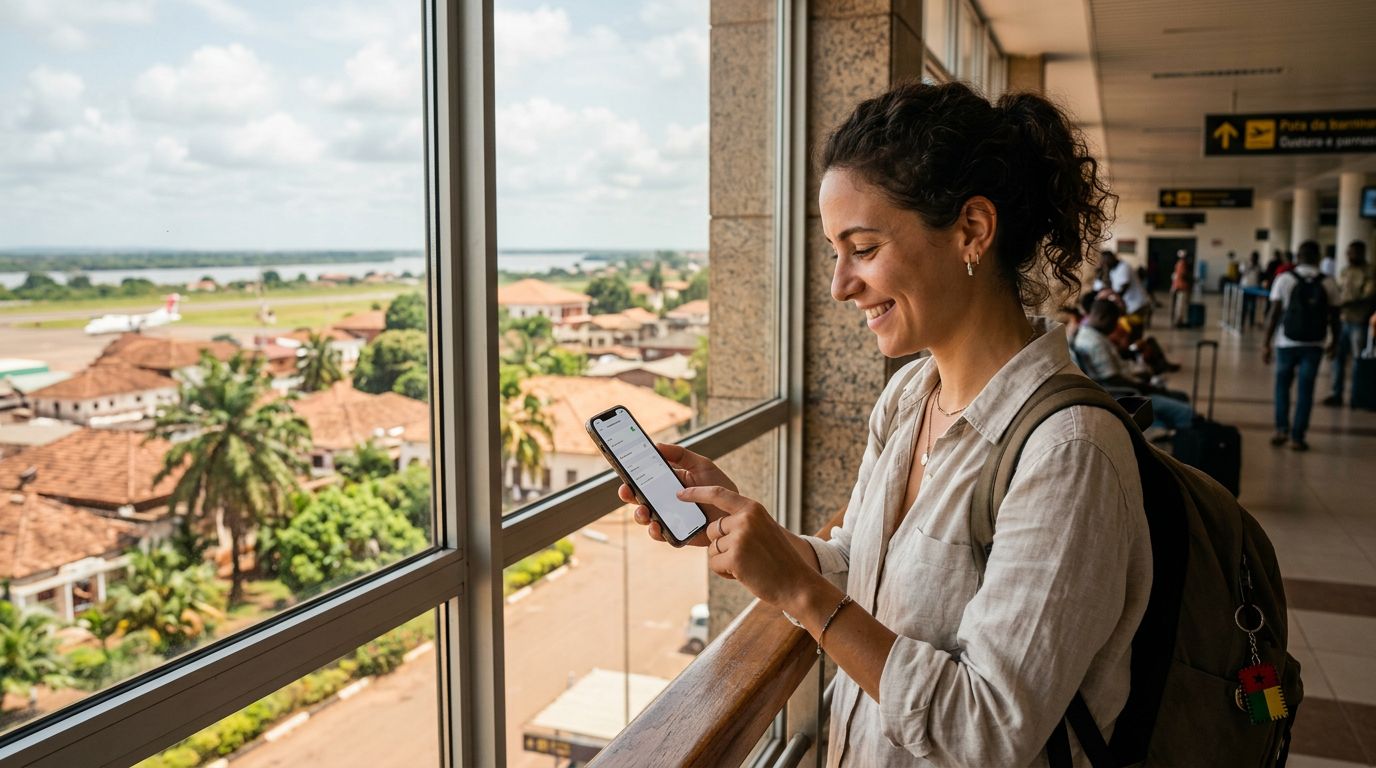
Once you have confirmed compatibility, ensure your phone’s operating system is updated to the latest version. Software updates often include security patches and improved network management features that make the installation process smoother. Having a stable Wi-Fi connection during the initial setup is also highly recommended. While you can technically set up your eSIM once you arrive in Guinea-Bissau, downloading the profile while you are still at home or at the airport ensures that your connectivity is ready the moment you step off the plane.
Step-by-Step Installation and Activation
The process of activating travel eSIM for Guinea-Bissau is designed to be straightforward. Once you have selected your plan through OneTapSIM, you will receive a QR code or a manual activation string via email. The installation process varies slightly depending on whether you are using an iOS or Android device, but the core steps remain consistent.
For iPhone users, navigate to your Settings, tap on Cellular, and select "Add eSIM." You can then scan the QR code provided. If you are having trouble scanning, you can choose the manual entry option to input the details provided by your service provider. Once the profile is added, you will see a new label for your cellular plan. It is helpful to rename this label to something recognizable, like "Guinea-Bissau Travel," so you can easily distinguish it from your primary SIM card.
For Android users, the path is generally found under Settings, then Network & Internet or Connections, followed by SIM Card Manager or Mobile Network. Look for the "Add eSIM" or "Add Mobile Plan" option. Similar to iOS, you will scan the QR code or enter the activation details manually. After the profile is downloaded, ensure that the eSIM is toggled to the "On" position.
The final step is configuring your data settings. You must designate the eSIM as your primary source for mobile data. In your cellular settings, look for the "Cellular Data" or "Mobile Data" menu and select your new eSIM profile. Ensure that "Allow Cellular Data Switching" is turned off to prevent your phone from accidentally reverting to your home carrier’s expensive roaming service. By keeping your home SIM active for calls and texts while using the eSIM for data, you maintain full control over your communication costs.
Troubleshooting and Optimizing Your Connection
Even with a smooth installation, you might encounter minor hiccups when you first arrive in Guinea-Bissau. If you find that you do not have an immediate signal, the first step is to enable Data Roaming for the eSIM profile. This is a common point of confusion for travelers; while your home carrier’s roaming should remain off, the data roaming setting within the eSIM profile must be toggled on to allow the eSIM to connect to local partner networks.
If you still face connectivity issues, try toggling Airplane Mode on for ten seconds and then off again. This forces the device to re-scan for available local towers. In some cases, you may need to manually select a network provider in your phone’s cellular settings. If the automatic selection is failing, look for the "Network Selection" menu and choose a network from the list of available providers in Guinea-Bissau.
Managing your data usage is also important for a seamless experience. Since you are using a travel eSIM, keep an eye on your usage through your phone’s built-in data tracking tools. If you find yourself streaming high-definition video or downloading large files, your data allowance may deplete faster than expected. To conserve data, consider downloading offline maps for the cities you plan to visit and adjusting your app settings to prevent automatic background updates.
If you encounter persistent issues, OneTapSIM provides documentation and support resources that can assist you in resolving technical barriers. Most problems are easily fixed by verifying your APN (Access Point Name) settings. The APN acts as the gateway between your mobile network and the internet. While most eSIMs configure this automatically, you can manually input the settings provided in your activation instructions if the connection remains inactive. By following these steps and ensuring your device is properly configured, you can enjoy reliable, high-speed data throughout your stay in Guinea-Bissau, allowing you to focus on your travel itinerary rather than connectivity concerns.
Kup eSIM na
Plany dla kierunków opisanych w tym poradniku, z natychmiastową dostawą QR.