Preparing Your Device for Seamless Connectivity
Before you begin activating your eSIM for your Qatar trip, the most important step is ensuring your smartphone is compatible and ready for digital connectivity. An eSIM, or embedded SIM, functions as a virtual version of a traditional physical SIM card. Because it is built directly into the hardware of your device, it eliminates the need to visit a local shop in Doha or fumble with tiny plastic cards and ejector tools.
First, verify that your phone is carrier-unlocked. If you purchased your device through a mobile network provider, it might be locked to their specific network, which prevents the use of third-party eSIM services. You can usually check this in your device settings or by contacting your home carrier. If your phone is locked, you must request an unlock before you travel.
Next, confirm that your specific model supports eSIM technology. Most modern smartphones released in the last few years are compatible. You can verify this by visiting the manufacturer's support pages, such as those provided by Apple or Google. Once you have confirmed compatibility, ensure your device is running the latest operating system updates. Software updates often include critical patches that improve how your phone handles dual-SIM configurations and network switching.
Finally, check your device’s settings to see how many eSIM profiles it can store. While most devices allow you to store multiple profiles, only a certain number can be active at once. By clearing out old, expired eSIMs from previous trips, you create a cleaner environment for your new Qatar profile, which helps avoid potential configuration conflicts once you land.
Step-by-Step Activation Process
The process of activating your eSIM for your Qatar trip is designed to be efficient. With OneTapSIM, the goal is to provide a smooth transition from your home network to local coverage the moment you arrive. The installation process generally follows a standard flow across most smartphones.
Once you have purchased your eSIM, you will receive a confirmation, typically via email, containing a QR code or manual installation details. It is highly recommended that you complete the installation process while you are still at home and connected to a stable Wi-Fi network. Do not wait until you are at the airport or in the back of a taxi to start the download, as you will need a reliable internet connection to register the profile with the local network.
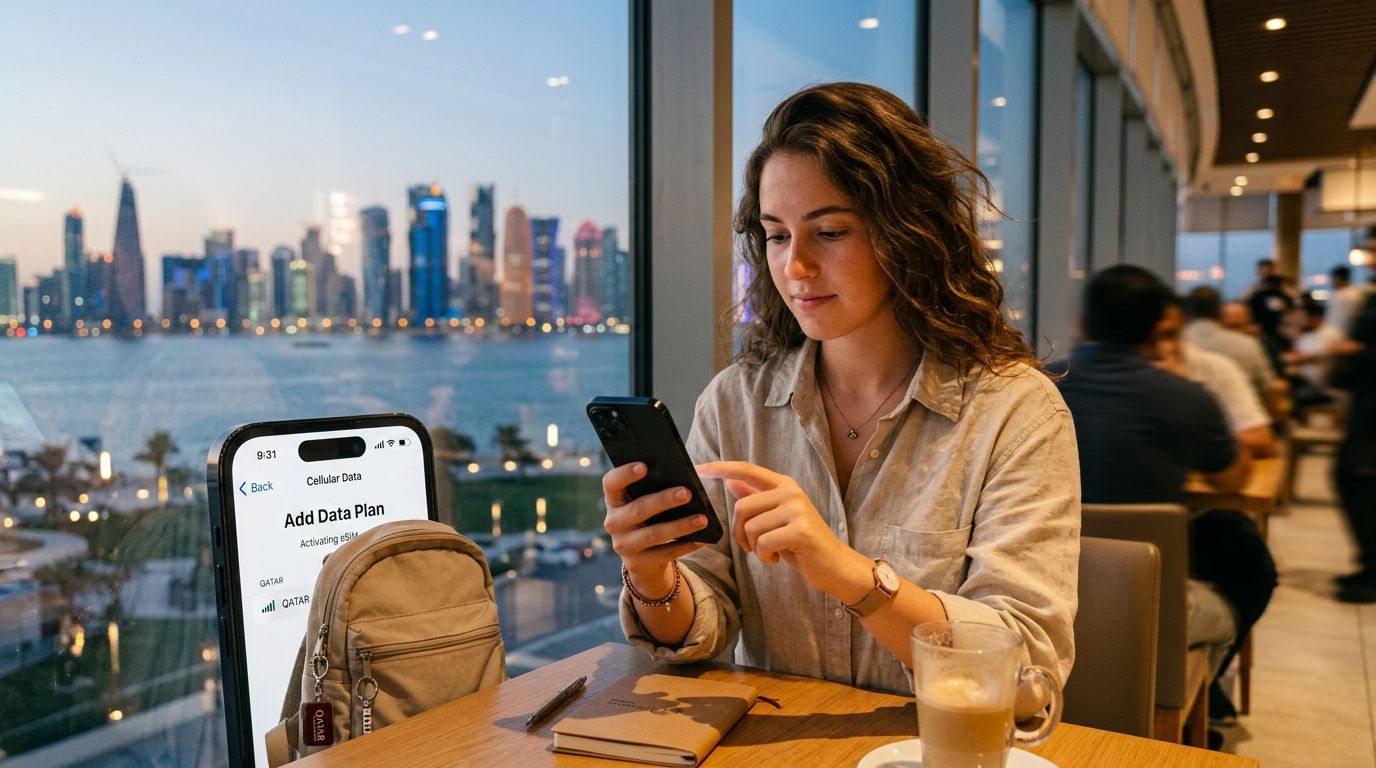
On an iPhone, navigate to your Settings, select Cellular or Mobile Data, and tap "Add eSIM." You will be prompted to scan the QR code provided. Once scanned, your phone will communicate with the network to finalize the setup. You may be asked to label your plans; naming one "Primary" for your home number and "Qatar" for your travel eSIM makes it much easier to manage your data usage later.
For Android devices, the path is similar. Go to Settings, then Network & Internet, and look for the SIMs or Mobile Network section. Select the option to add a SIM or download an eSIM. If you do not have the QR code handy, you can often enter the activation details manually, which involves inputting the SM-DP+ address and activation code provided by your service provider.
After the profile is downloaded, keep it turned off until you land in Qatar. Your phone will recognize the new profile, but it will remain inactive until it detects the local network towers in the Middle East.
Managing Your Data and Connectivity in Qatar
Once you land at Hamad International Airport, the transition to your new service should be almost instantaneous. As soon as you exit the plane, go into your device’s cellular settings and toggle your Qatar eSIM to "On." Ensure that "Data Roaming" is enabled for the eSIM profile specifically. This is a common point of confusion; enabling roaming on your home SIM is usually unnecessary and potentially costly, but it is required for your travel eSIM to function correctly.
If you find that you are not connecting immediately, toggle "Airplane Mode" on and off. This forces the device to search for available local networks again. In some cases, you may need to manually select a network provider if your phone does not automatically latch onto the strongest signal. This is found under the "Network Selection" menu in your cellular settings.
To manage your costs and data usage effectively, set your phone to use the Qatar eSIM for cellular data while keeping your home SIM active only for calls or texts if necessary. Many travelers prefer to turn off data for their home SIM entirely to prevent accidental background usage. If you are using OneTapSIM, you can monitor your data consumption through your device’s built-in data tracking tools. Most modern smartphones allow you to see exactly how much data each app is consuming, which is helpful if you are trying to stretch your data allowance.
If you find yourself running low on data during your stay, you can often manage your plan or add more through your account dashboard. Because the eSIM is digital, there is no need to find a store or swap any hardware. This flexibility is what makes digital connectivity the preferred choice for modern travelers. By keeping your settings organized and ensuring your data roaming is configured correctly for the specific eSIM profile, you can focus on enjoying the architecture, culture, and hospitality of Qatar without worrying about your connection.
Remember to keep your original SIM card in your phone. You do not need to remove it, but you should ensure that your device is configured to prioritize the eSIM for data. By following these steps before and during your journey, you ensure that your digital footprint in Qatar remains stable, secure, and ready for whatever your itinerary requires.